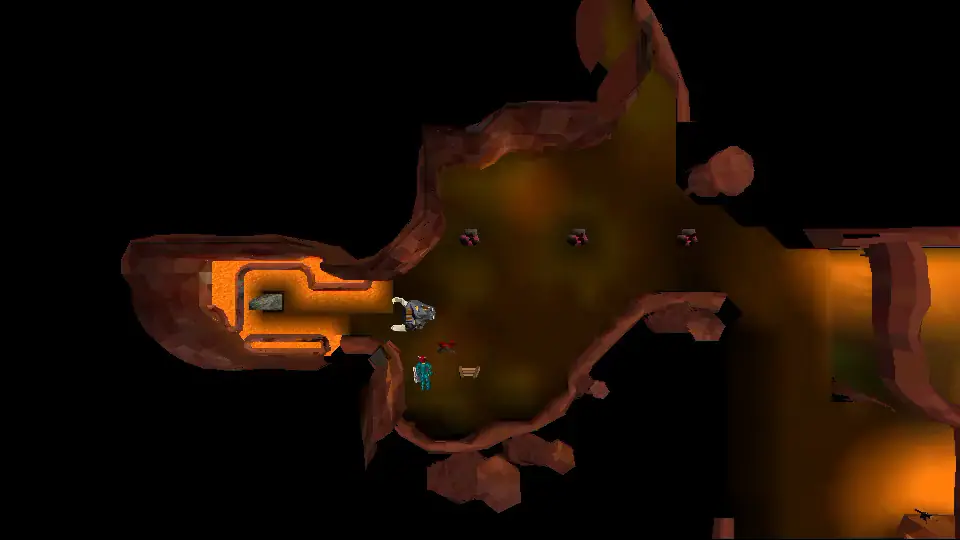
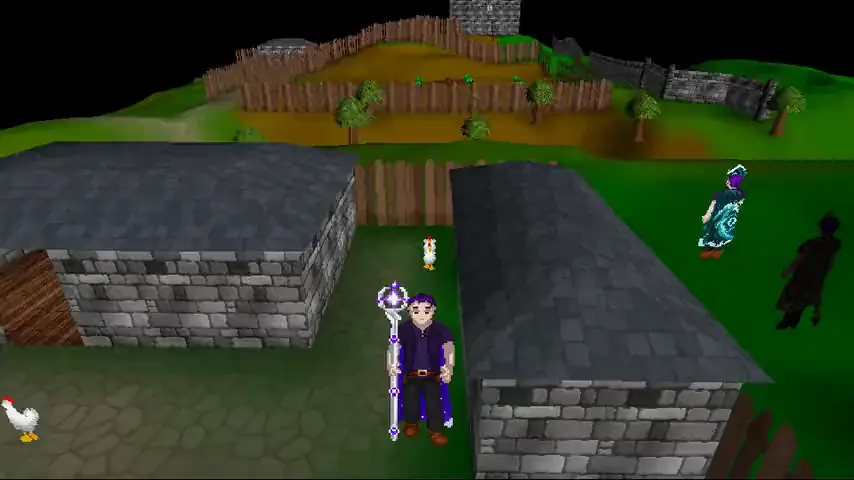
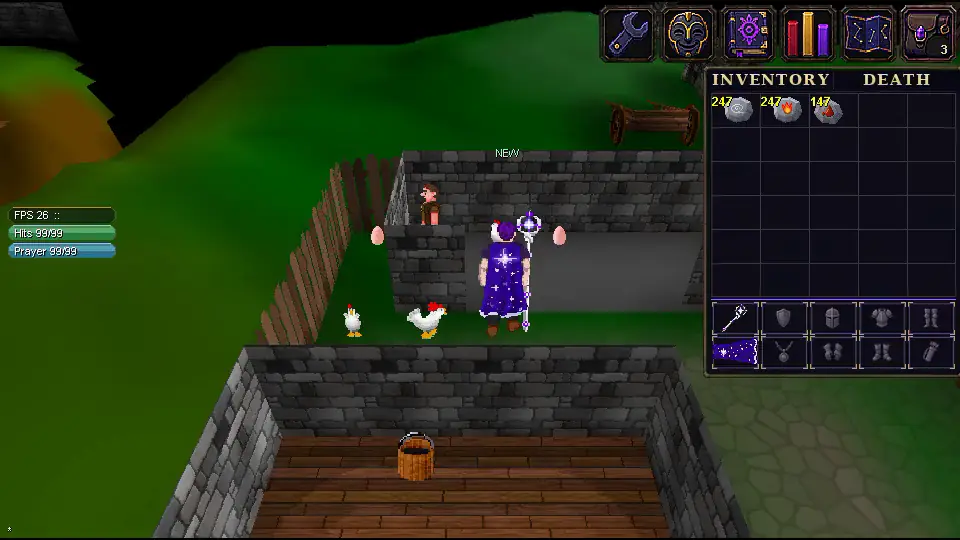
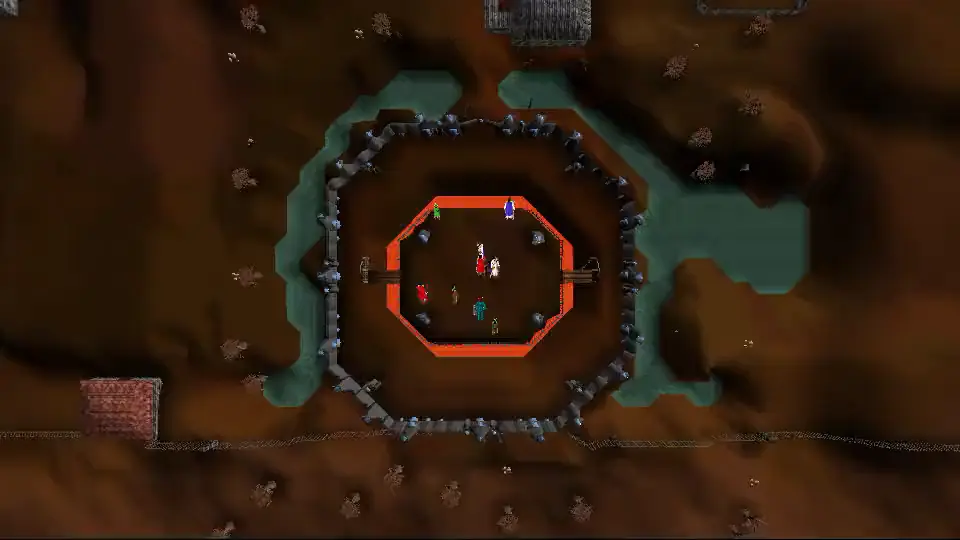
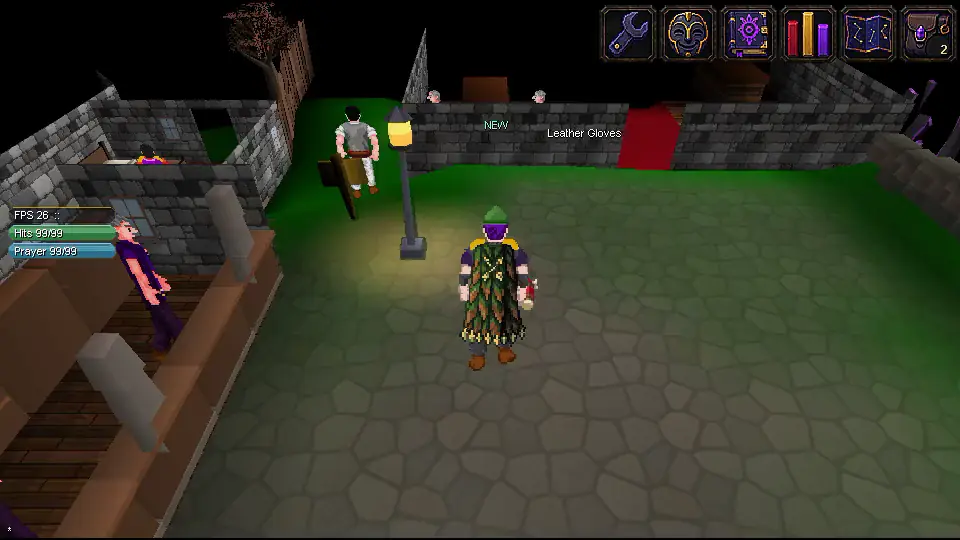
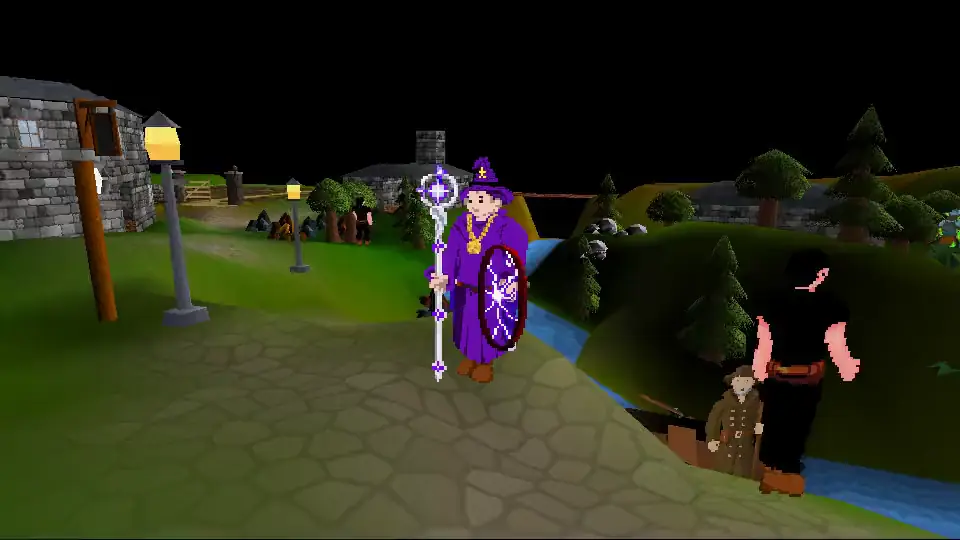
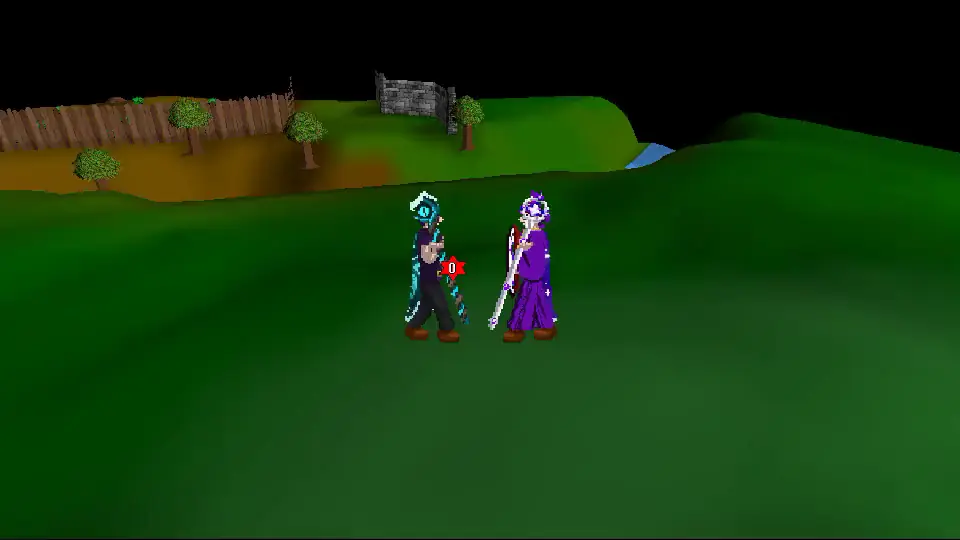
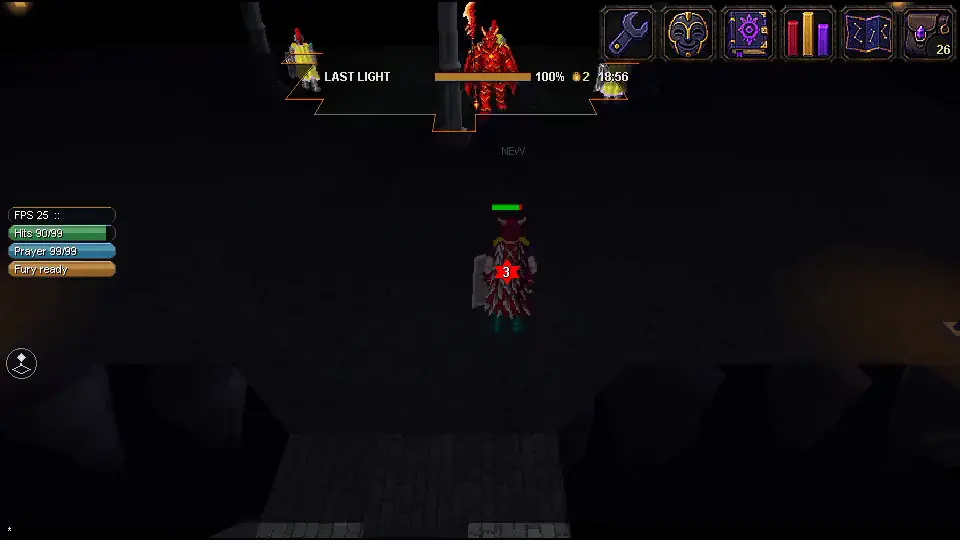
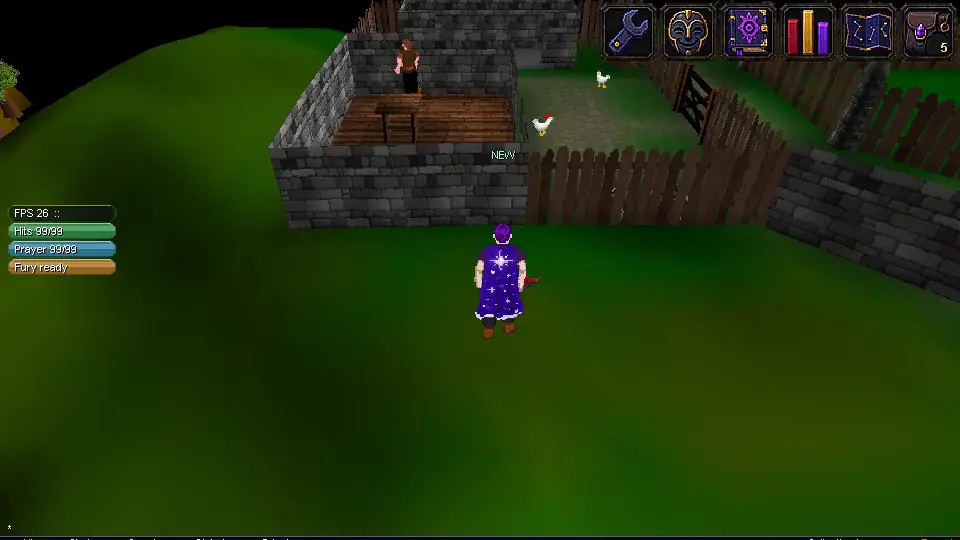
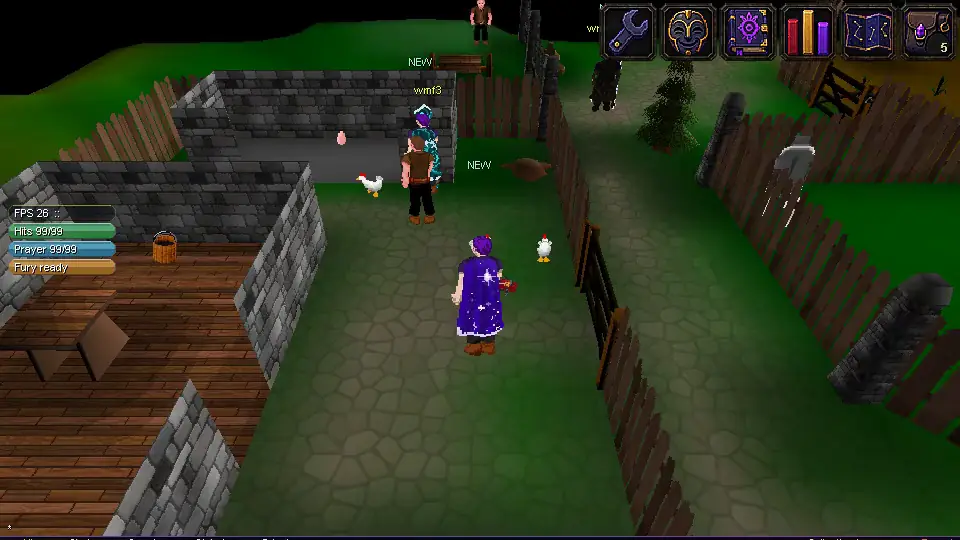
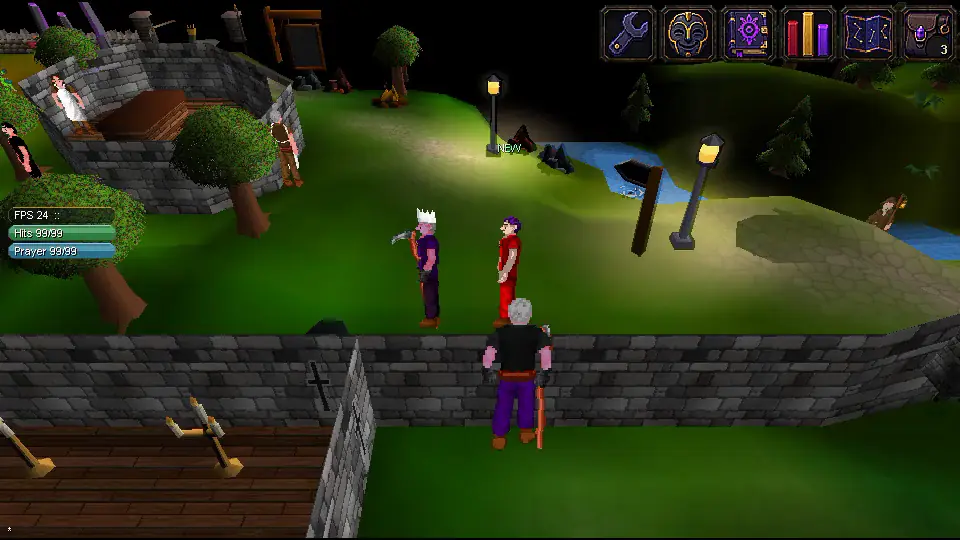
Taverley Dungeon is now the Wyrmmaw, a dragon lair five levels deep, and the Elder dragon waits for you alone on her hoard. New players start in the Pit, the gods get their own spells, and the game draws on your graphics card.
Restart the desktop launcher, reload the browser game, or update the Android app.
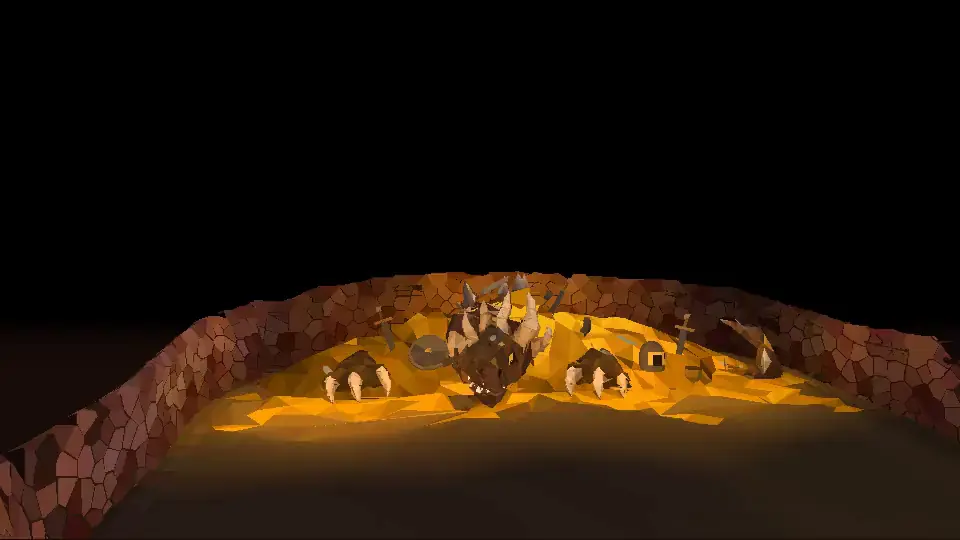
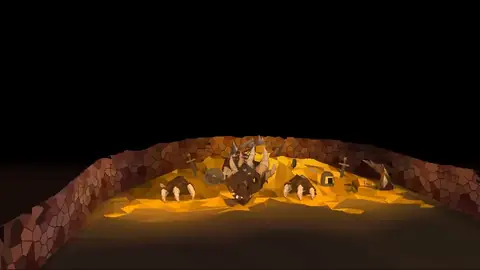
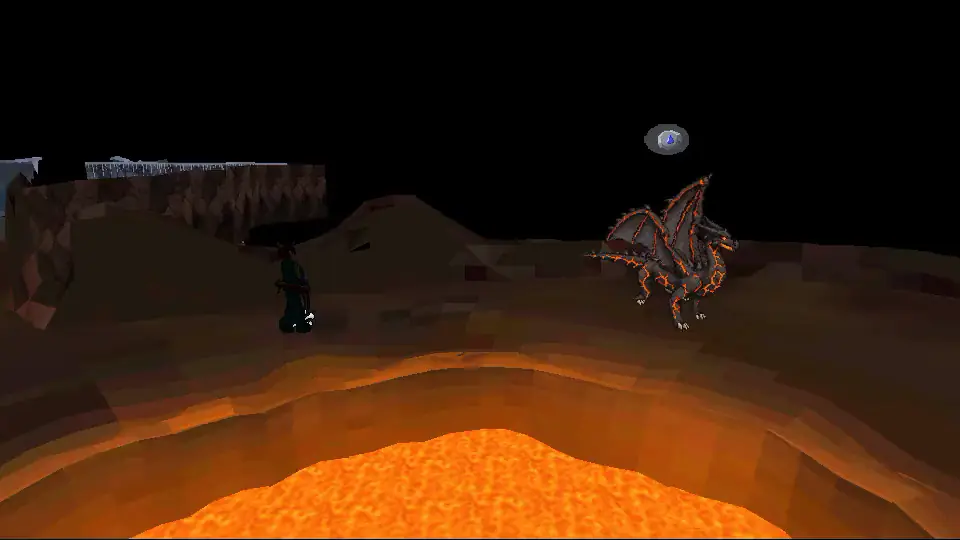
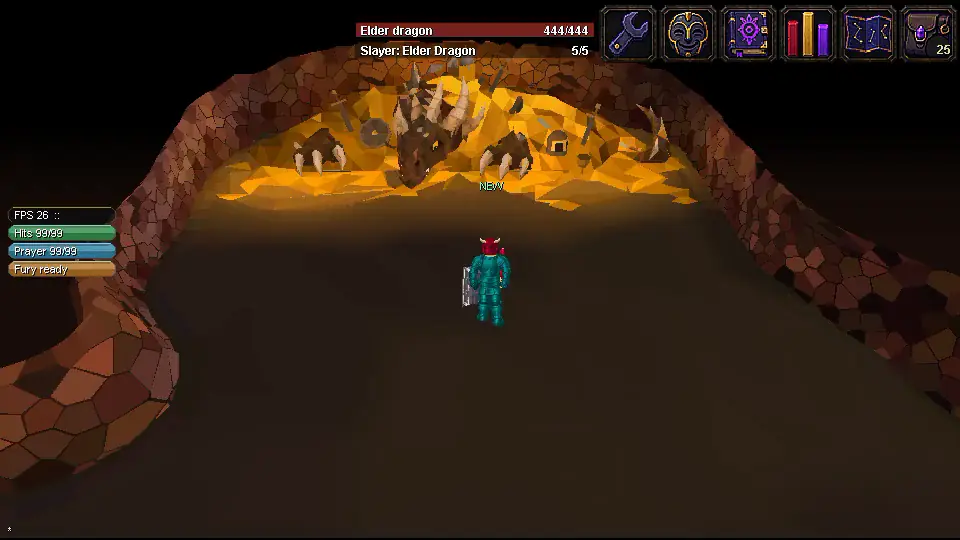
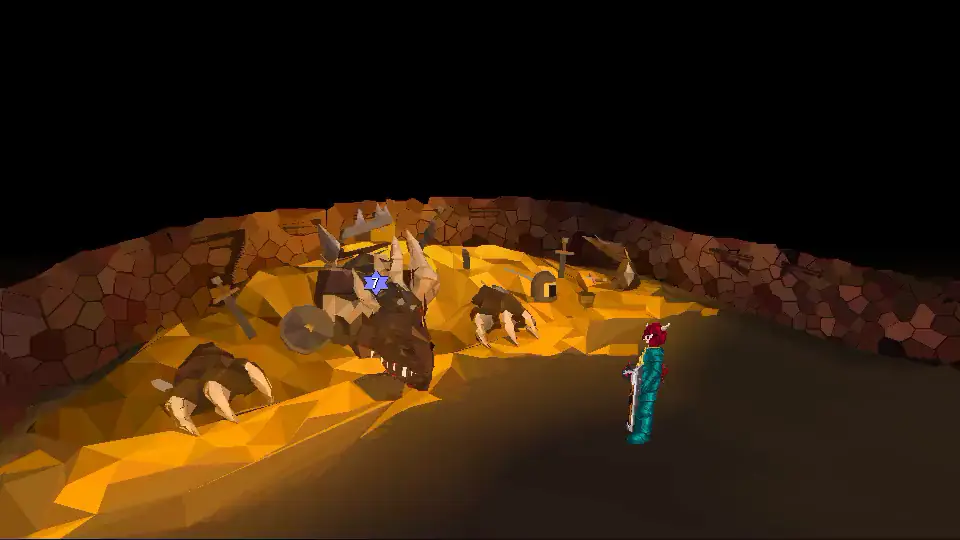
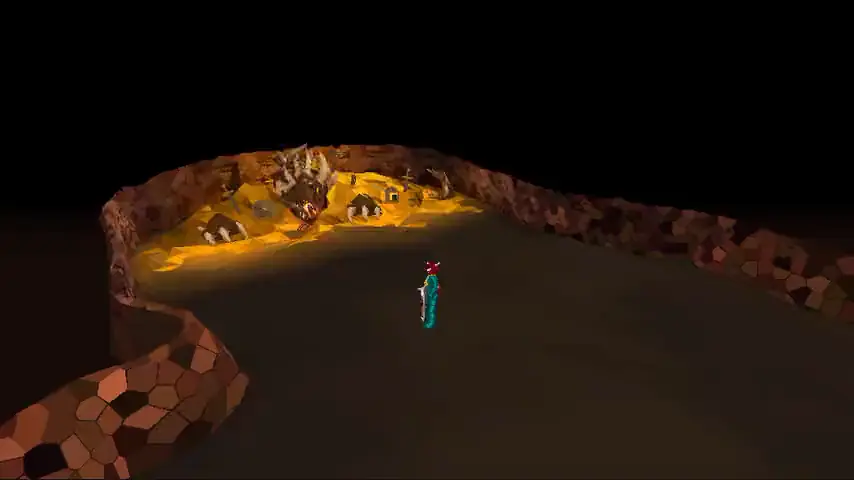
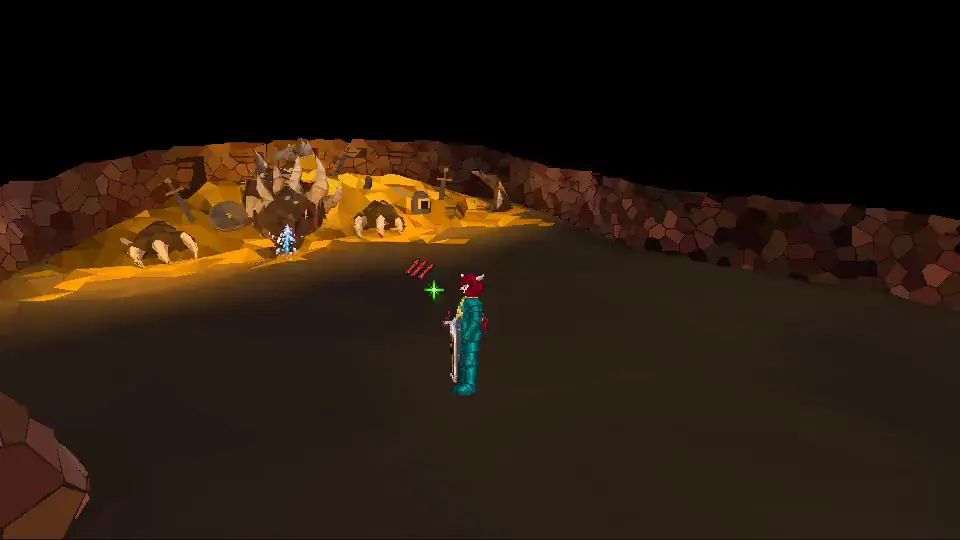
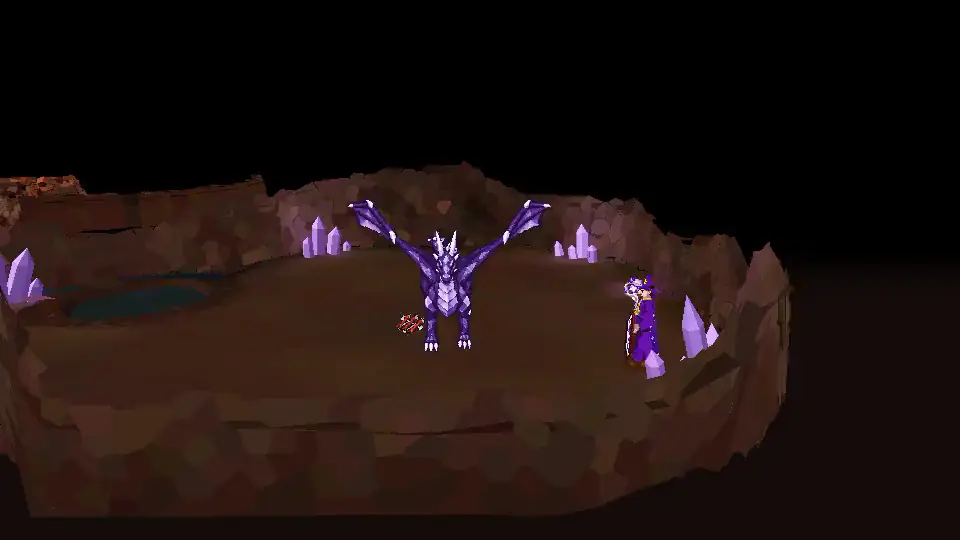
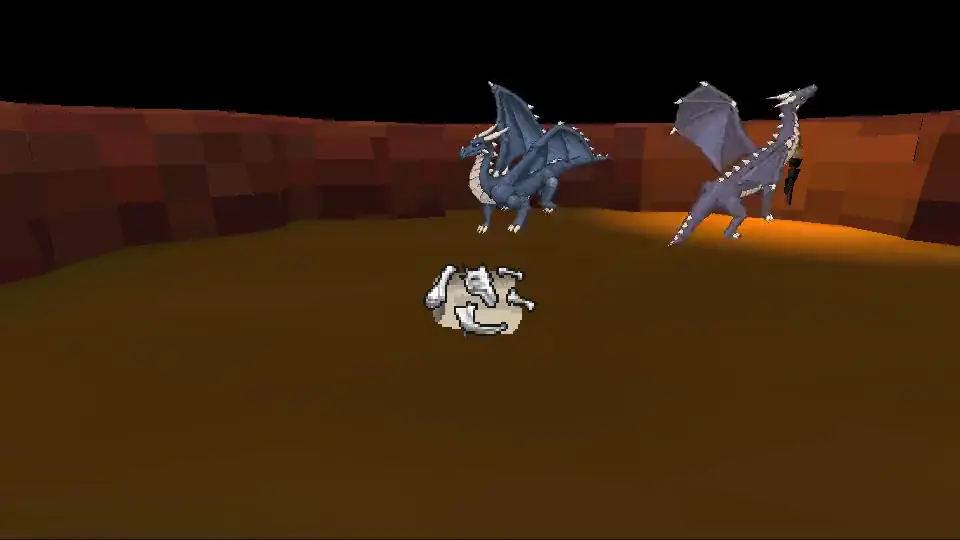
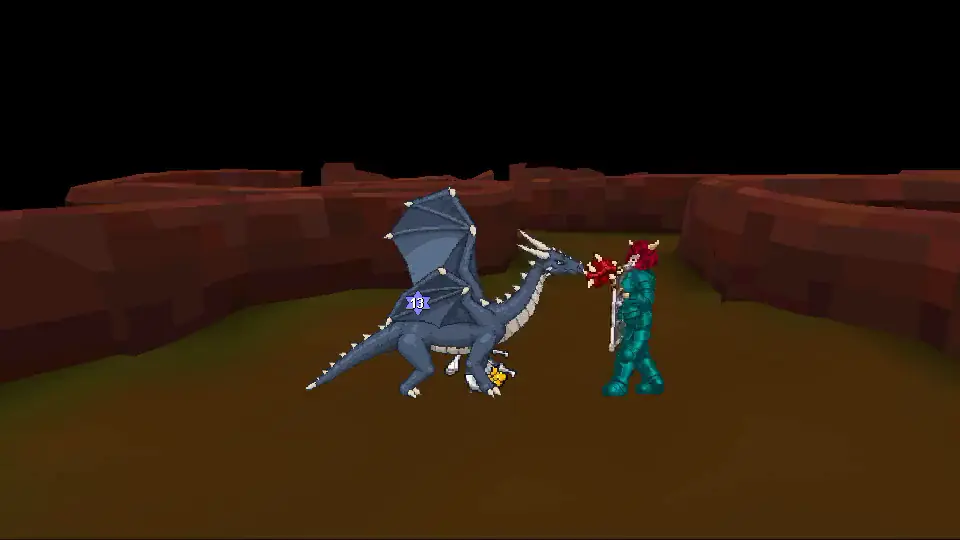
The Elder dragon on her hoard, at the bottom of the Wyrmmaw.
Planning your levels? Here is every new skill requirement in this update in one table. The guides below have the details, the odds and the step by step.
New requirements at a glance
What
Needs
Where or how
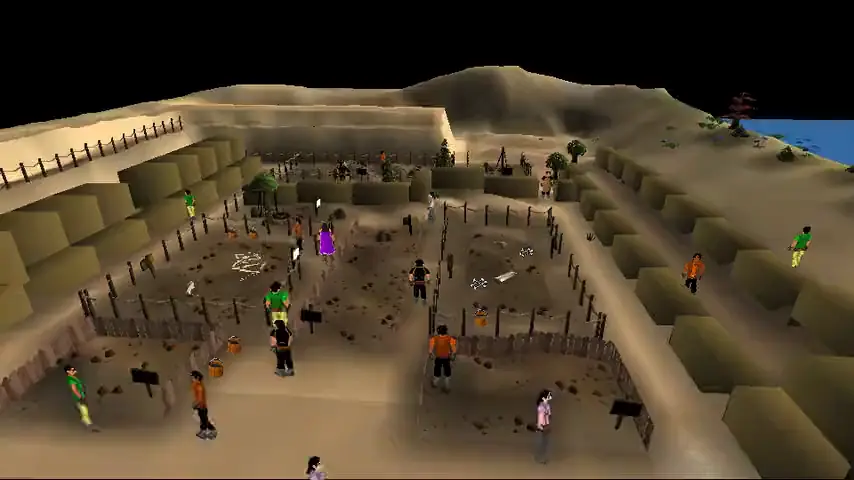
Forge bronze bolts
Smithing 5
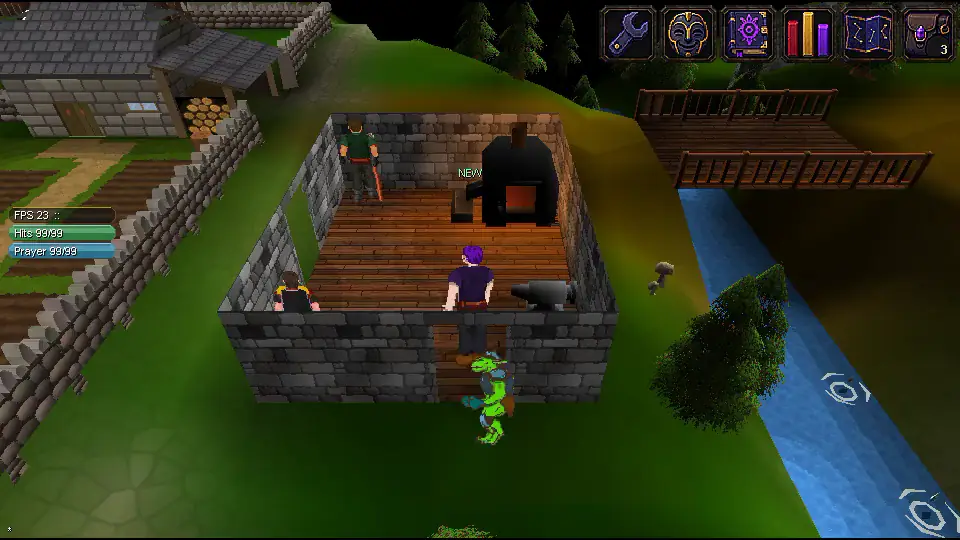
Any anvil, with a hammer
Forge iron bolts
Smithing 20
Any anvil, with a hammer
Forge steel bolts
Smithing 35
Any anvil, with a hammer
Ember bolts
Fletching 82
Use Blaze-Runes on Dragon bolts
Piercing bolts
Fletching 85
Use a diamond on Dragon bolts
Dragon cannonballs
Smithing 102
The Dragonforge, with an ammo mould
Dragon hand cannon
Smithing 104, Fletching 99
The Dragon anvil
Ancient dragon mace
Smithing 110
The Dragon anvil
Wield the Dragon hand cannon
Ranged 80
Wield the Ancient dragon mace
Attack 90, Magic 45
Wear an offhand
70 in its skill
Ranged, Magic, Defence or Attack
Cast Charge before a god spell
Magic 80
Wearing a god's staff and the same god's cape
Cast Black Hole
Magic 85
Members
Write at a lectern
Alchemy 55 (Write's level)
30 pages a batch at Alchemy 99
Build a writing circle at home
Construction 99
In your garden
Agility shortcuts in the Wyrmmaw
Agility 50, 60, 70, 80
See the shortcuts table
Slayer: Elemental dragons
Slayer 75, combat 100
From Vexis
Slayer: Armoured and Crystal dragons
Slayer 85, combat 110
From Vexis
Slayer: Two-headed dragons
Slayer 90, combat 110
From Vexis
Slayer: the Elder dragon
Slayer 95, combat 110
From Vexis
The Wyrmmaw
Taverley Dungeon is now the Wyrmmaw, a dragon lair five levels deep. It is built in full 3D: its lava and water sit in real beds nobody can walk into, and every space has its own colours, light and sound.
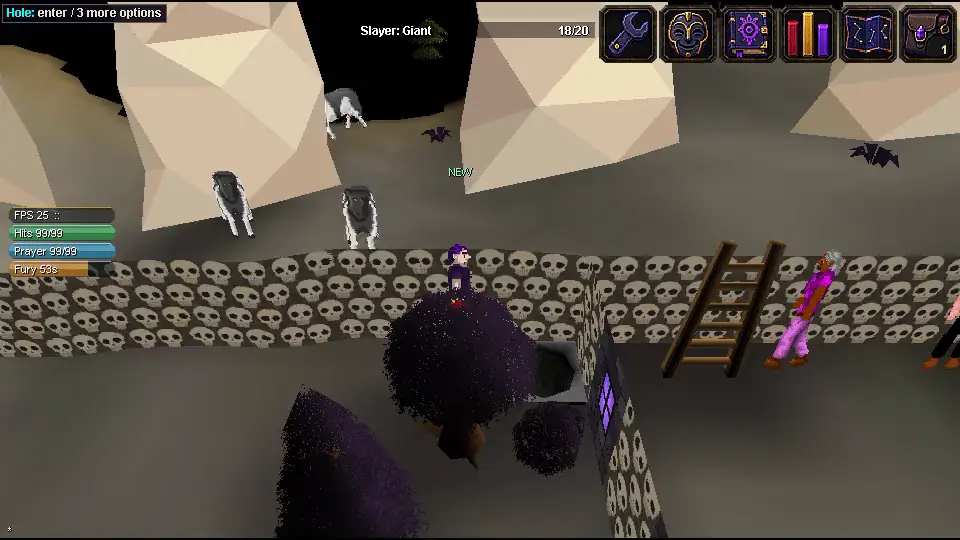
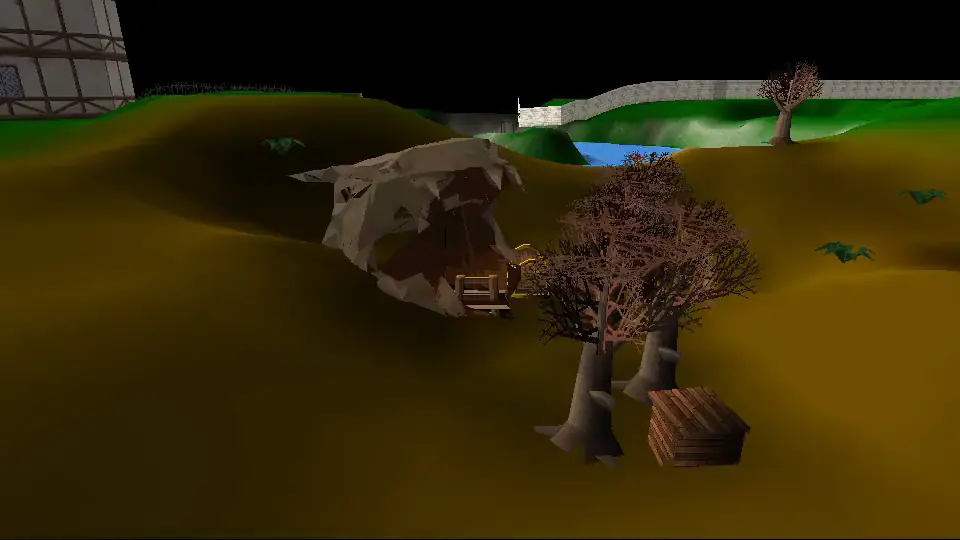
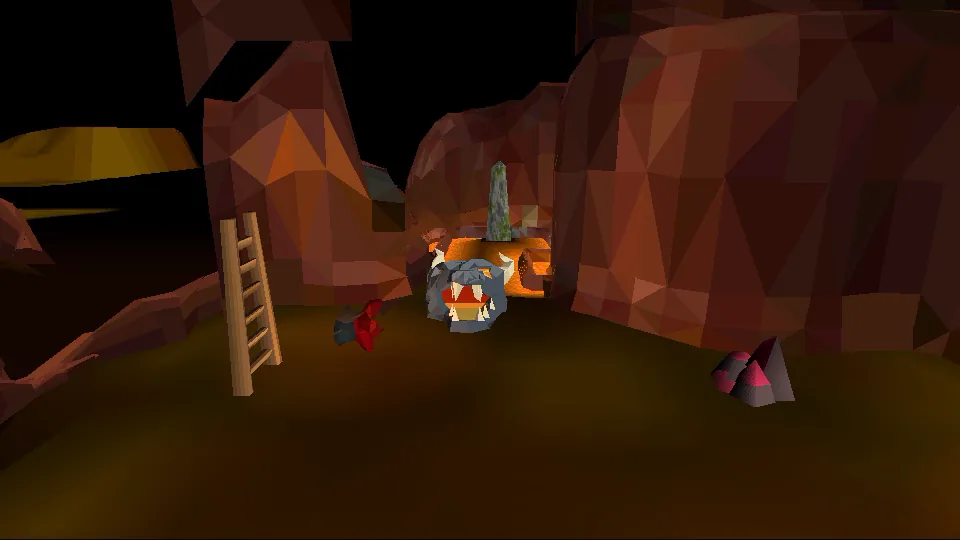
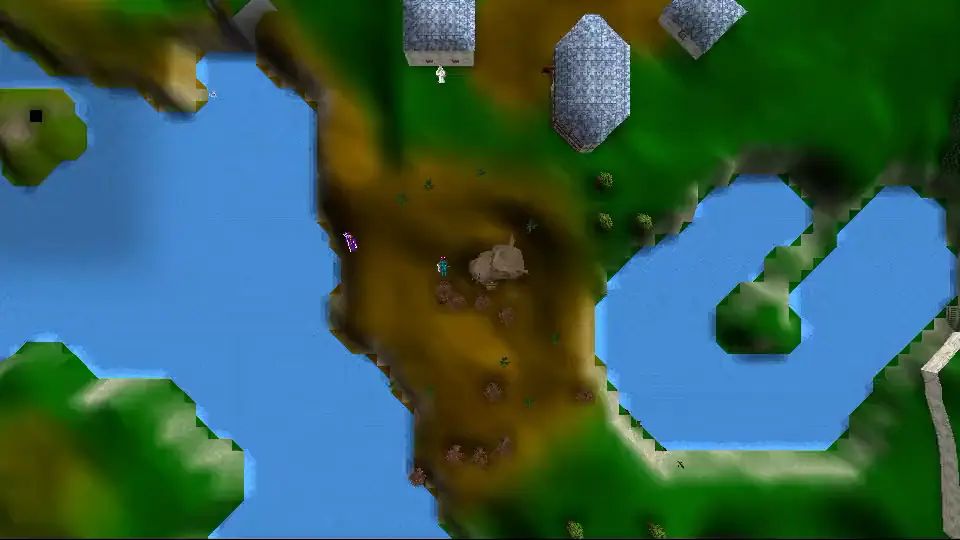
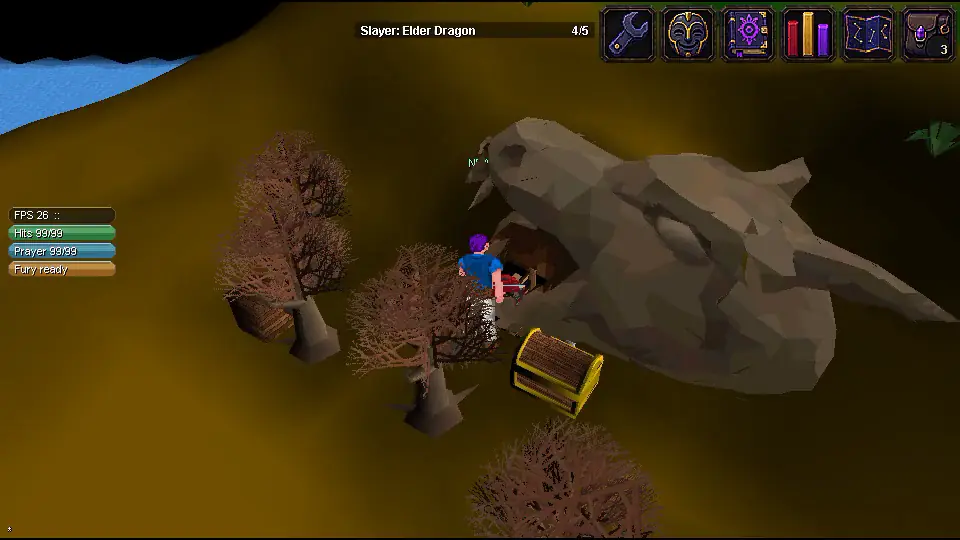
Enter south of Taverley, down the ladder in the mouth of a huge stone dragon head.
Each level goes deeper and pays better. The lit road on level 1 is safe; everything off it fights.
Cannons: dwarf cannons work in the Wyrmmaw except in the Hoard and its mouth.
Down to the stone dragon head over the way in.
Level 1The Landing
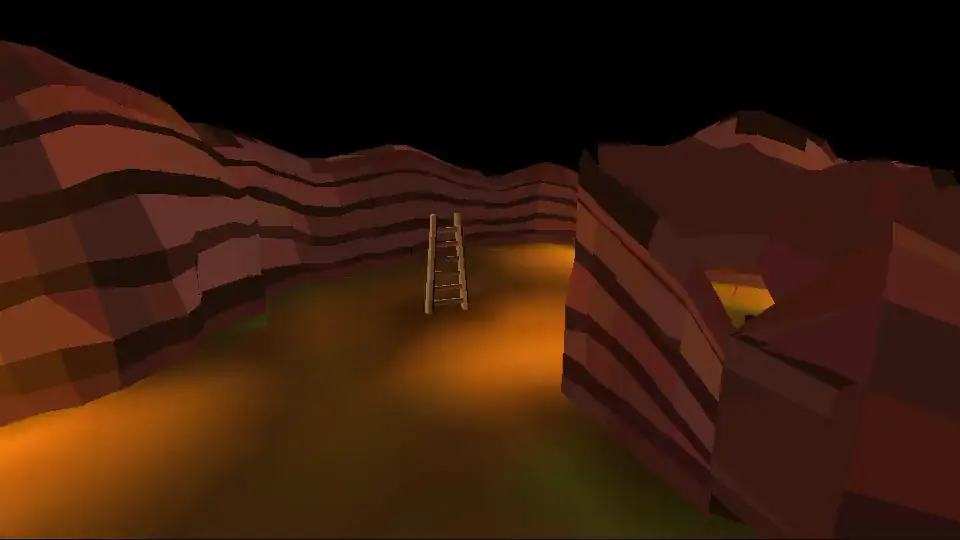
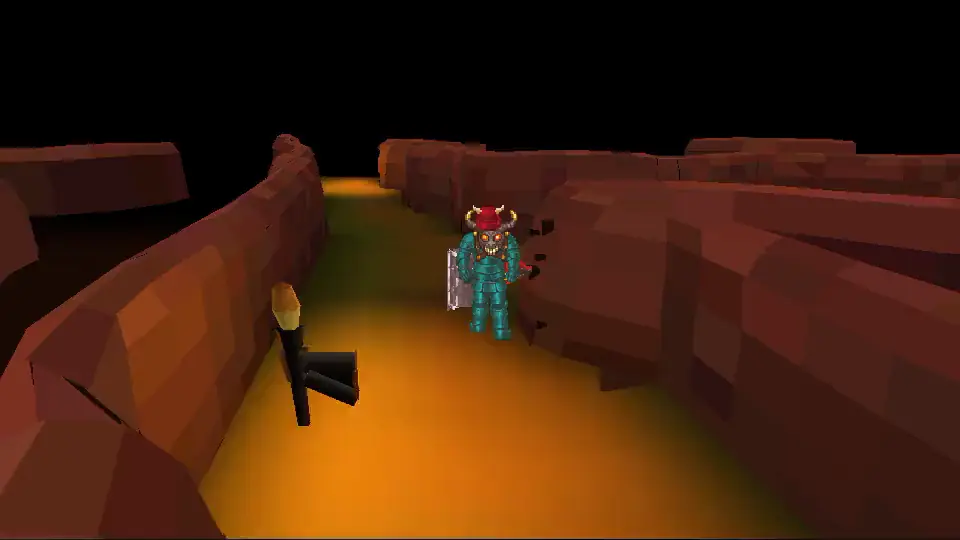
The ladder down sits in a stone dragon's mouth south of Taverley, half swallowed by the hill.
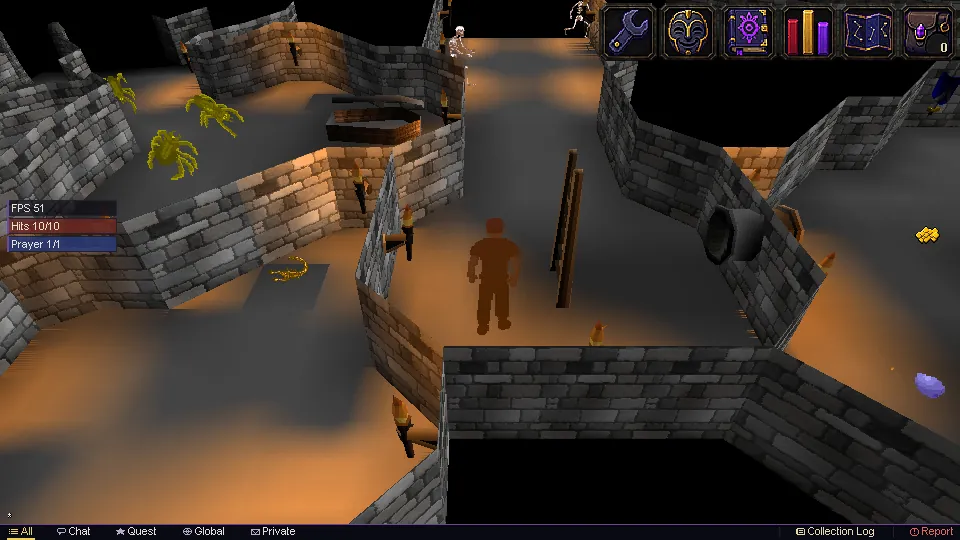
A lit road runs from the ladder to the Black Roost, and nothing attacks you on it.
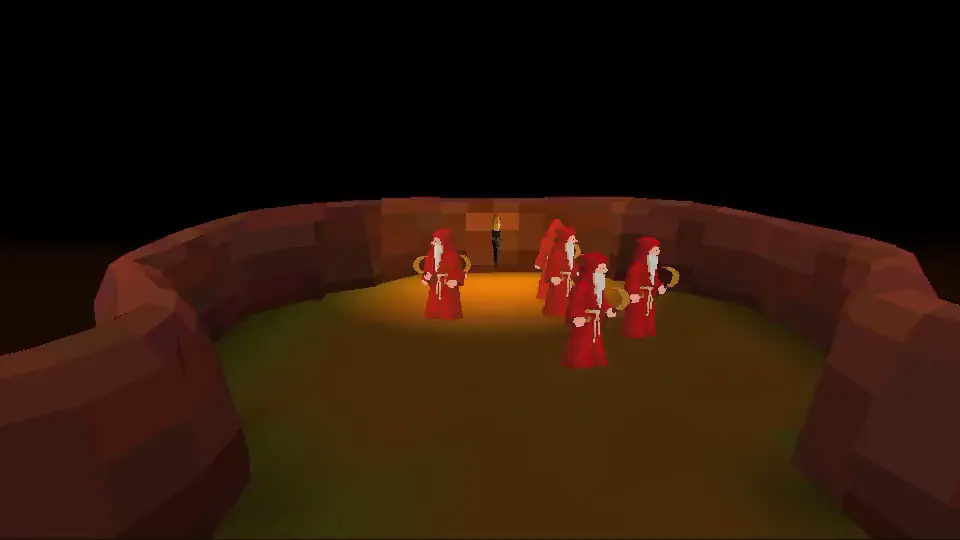
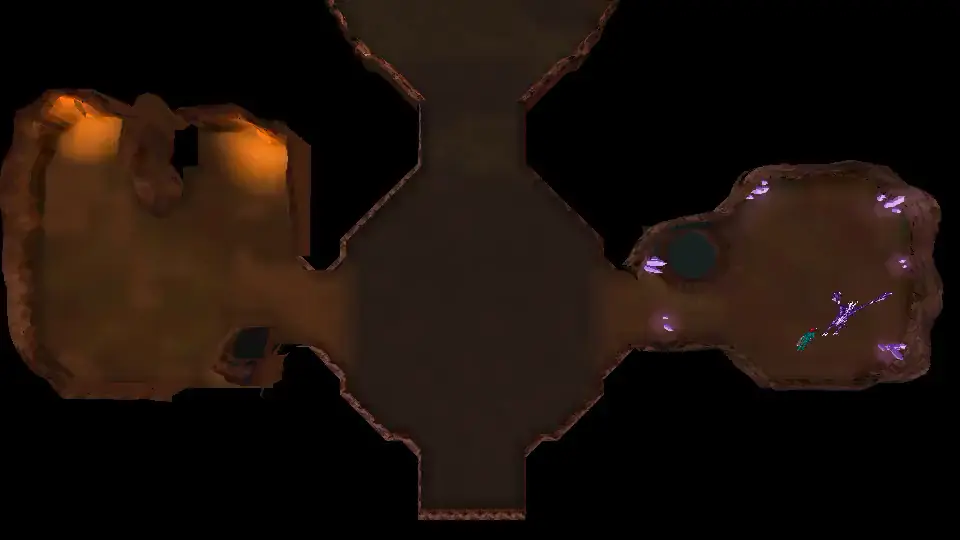
Four warren chambers hold chaos druids, chaos dwarves, giant bats and giant spiders.
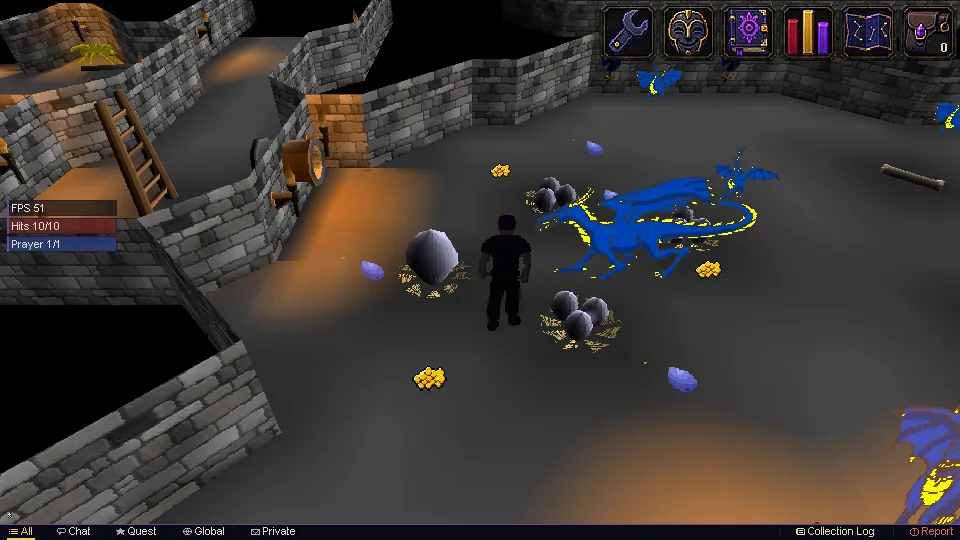
Past them: the blue dragons' den, the Hatchery of Dragon hatchlings, and a deep gallery of hellhounds and black demons.
Off the ladder and down the Landing's lit road.
The four warren chambers: druids, dwarves, bats and spiders.
Level 2The Black Roost
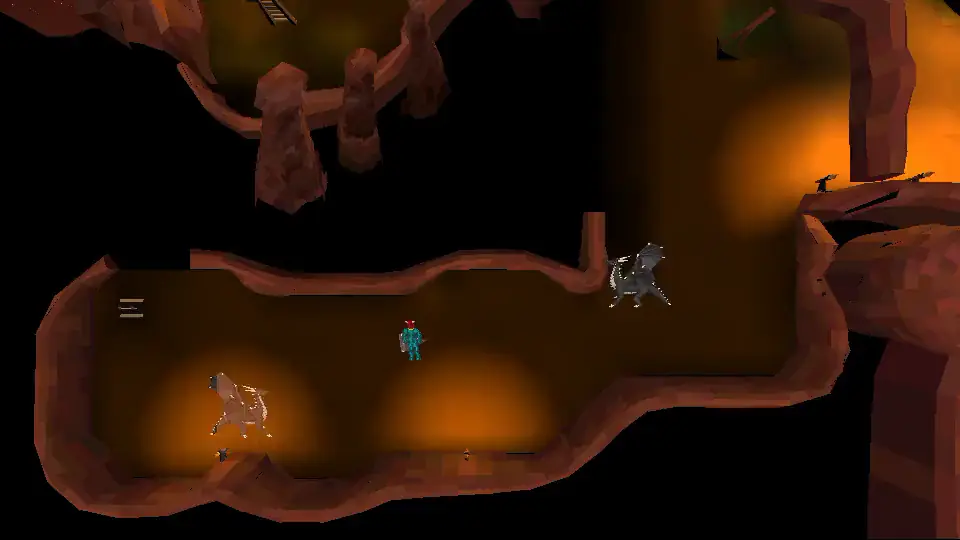
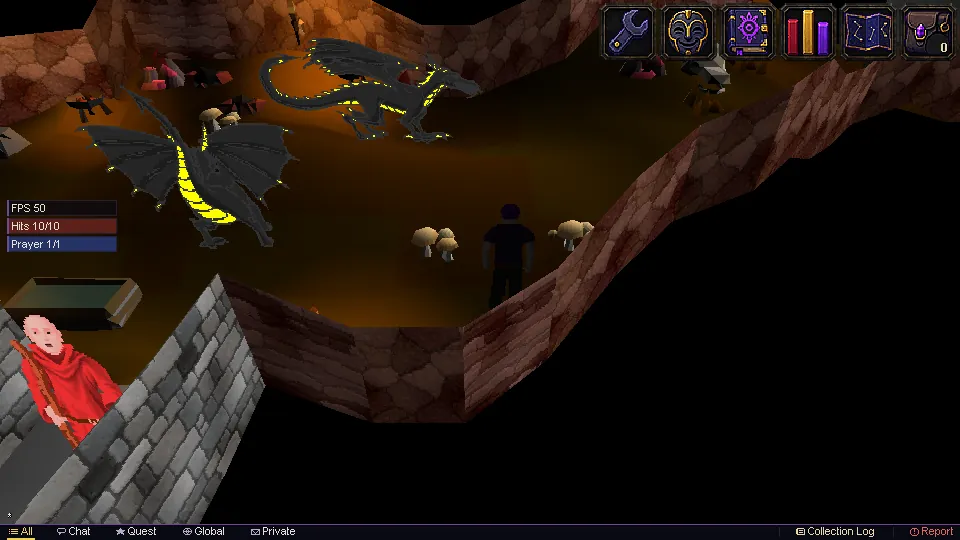
Black dragons on a shelf above a deep rift.
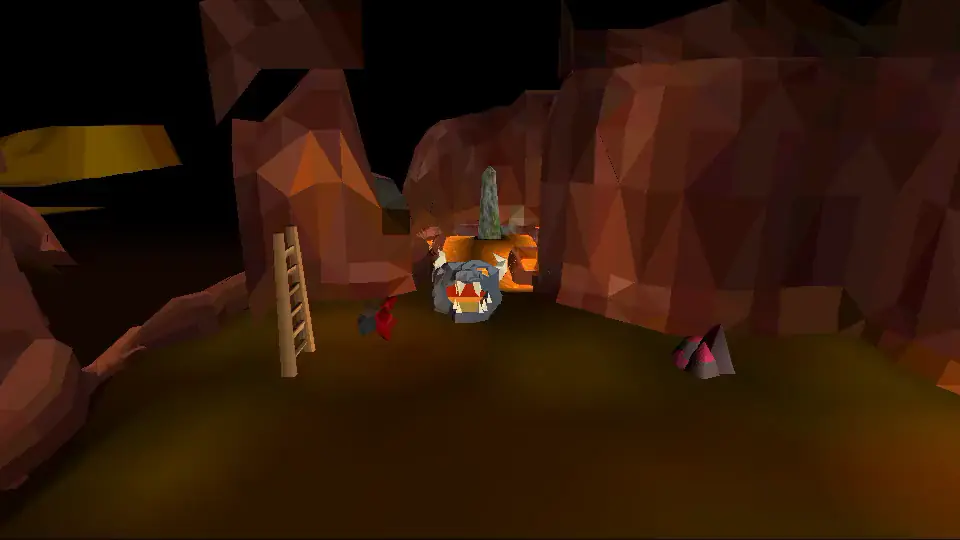
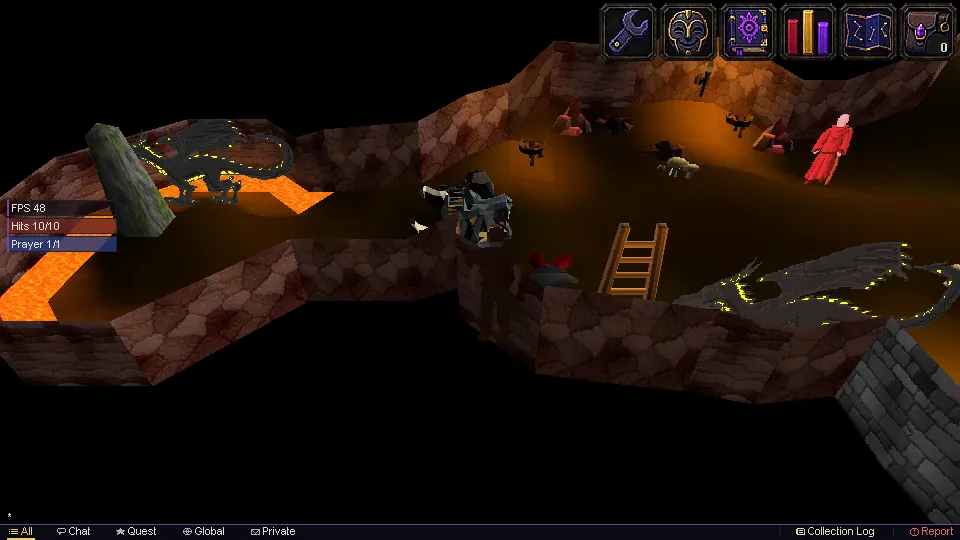
The forge camp is where you left it, with the dragon rocks, the Dragonforge and the Dragon anvil.
The Obelisk of fire now stands on an island in the lava.
Down into the Black Roost.
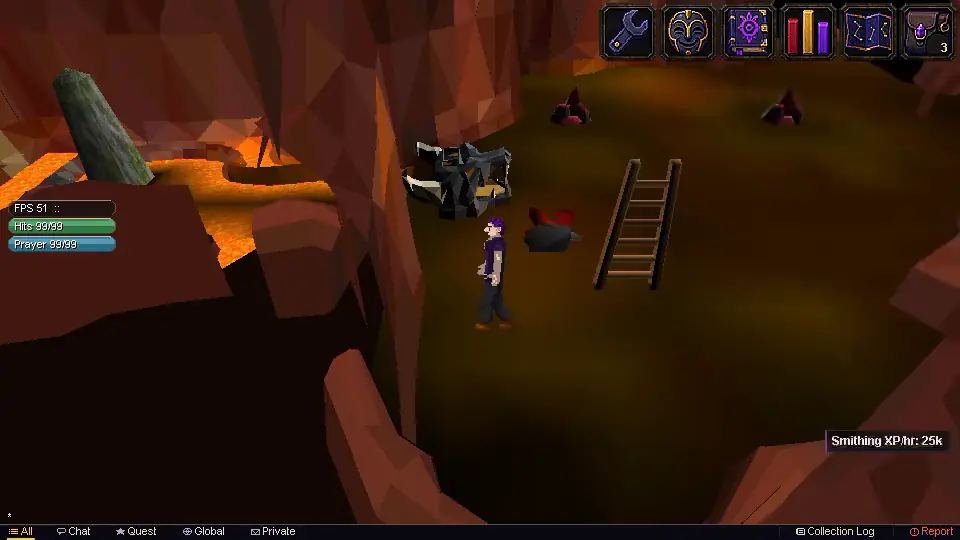
The forge camp: the Dragonforge, the Dragon anvil and a dragon rock.
Level 3The Ember Gallery, the Rime Mere and the Silt Fens
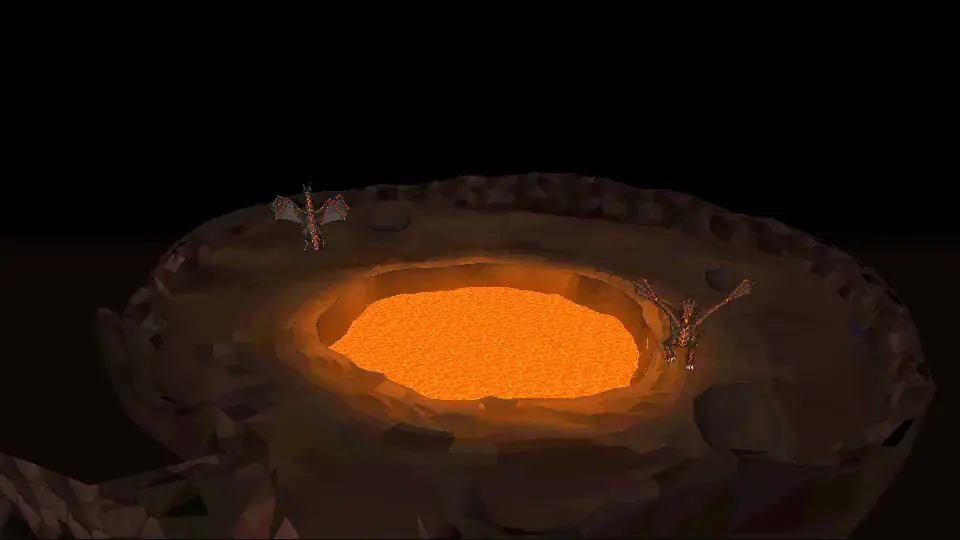
Infernal dragons circle the Ember Gallery's lava crater.
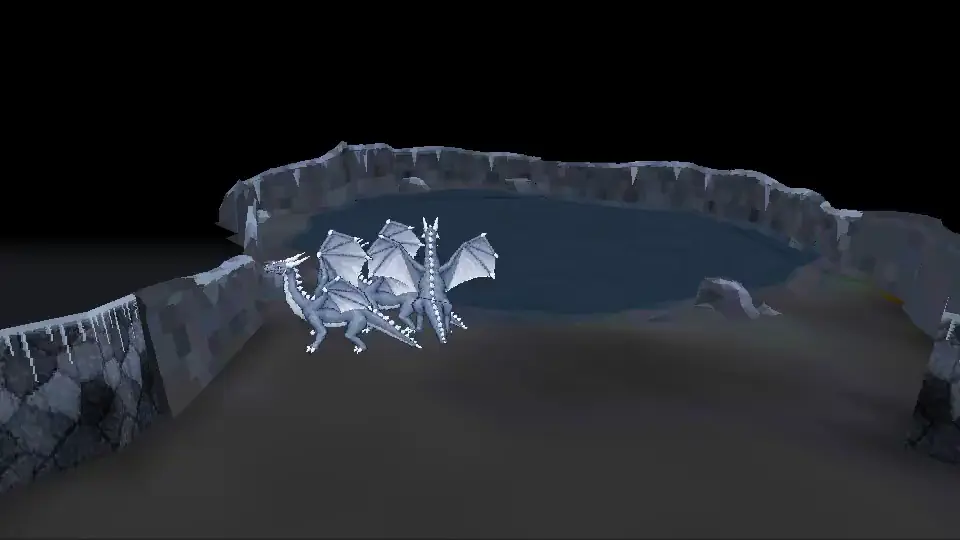
White dragons walk the frozen shore of the Rime Mere.
Stone and Storm dragons wade the Silt Fens, down their own ladder.
Infernal dragons round the Ember Gallery's crater.
White dragons on the Rime Mere.
Level 4The Wyrm Hold
Armoured and Plated dragons among stone columns on an engraved floor.
Dwarf cannons work here, with Dragon cannonballs.
Down into the Wyrm Hold.
Level 5The Hoard
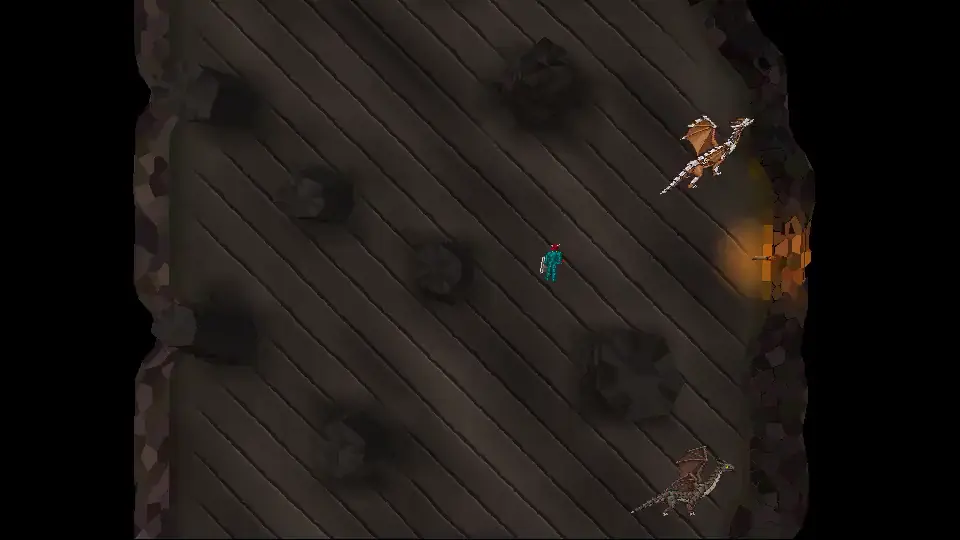
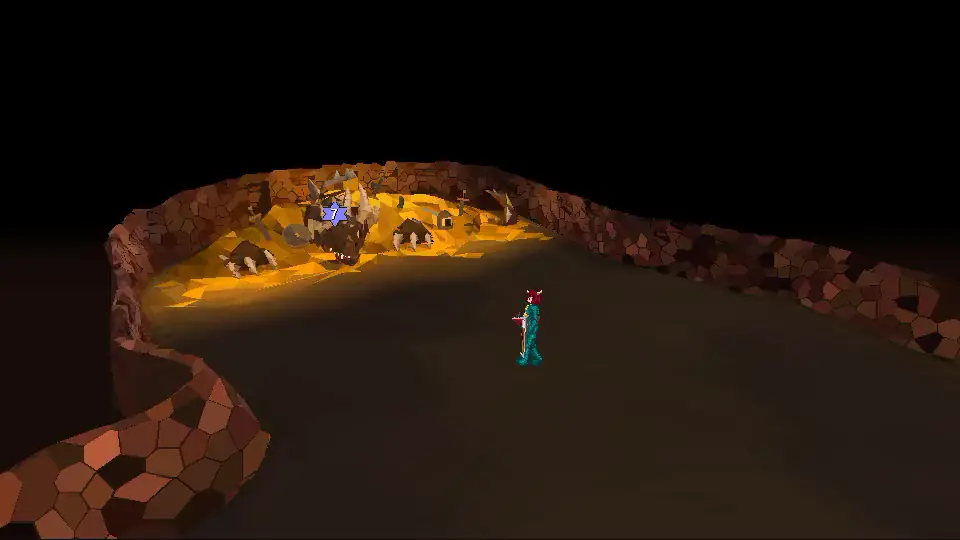
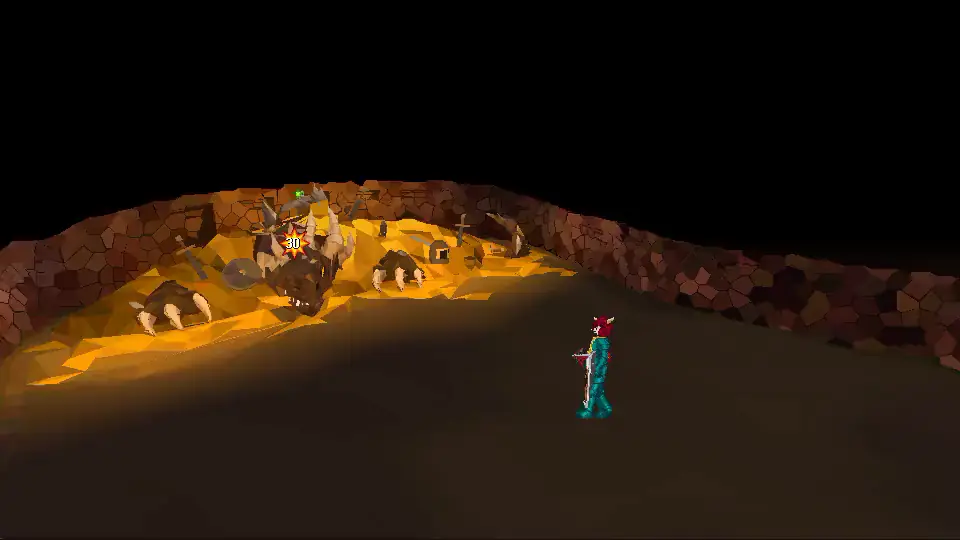
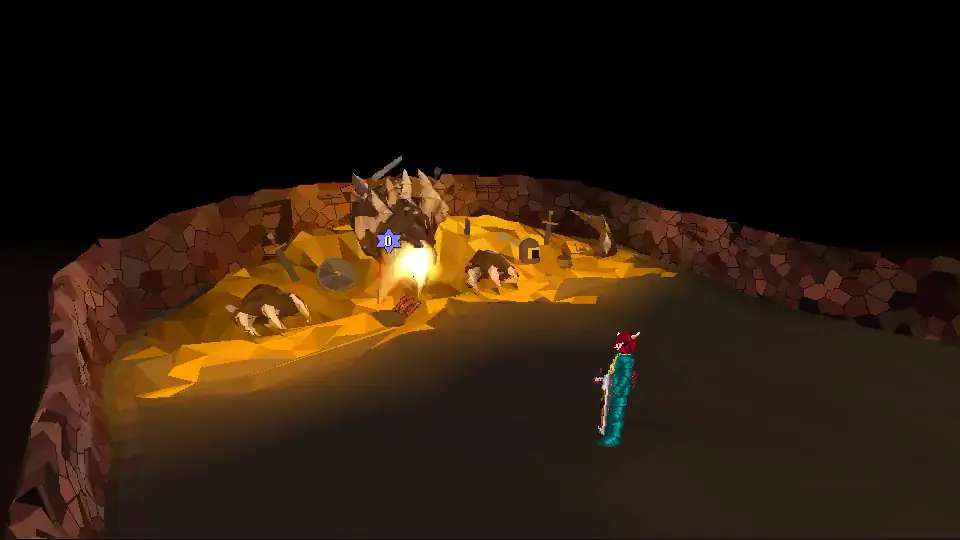
The Elder dragon on her heap of gold. You face her alone, in your own copy.
Two dens off it hold the Crystal dragon and the Two-headed dragon (Slayer only).
The Hoard floor is deadly: see the death chest below.
Down into the Hoard and its two side dens.
The shortcuts
Agility shortcuts (they work both ways)
Shortcut
Agility
Links
Slip chance at the requirement
A slip costs
Never slips at
The crack
50
The Landing's path to the Hatchery, and the Black Roost's east edge
None
Never slips
50
The rift ledge
60
The Black Roost shelf, and level 3's landing
18.75%
8% of your max hit points
80
The frozen ledge
70
Level 3, under the Rime Mere, and the Wyrm Hold's entry
16.41%
10%
90
The rock chimney
80
The Wyrm Hold's north end, and the Hoard's antechamber
14.84%
12%
99
A slip leaves you where you started and never takes your last hit point. The odds of a slip fall as your level rises, to none at the level in the last column.
The crack, through and back: it never fails.
A slip: a little damage, and you stay where you were.
Taverley Dungeon, before and after
BeforeAfter
The way down. Before: Taverley Dungeon's stone corridors. After: the Wyrmmaw, where the lit road starts.
BeforeAfter
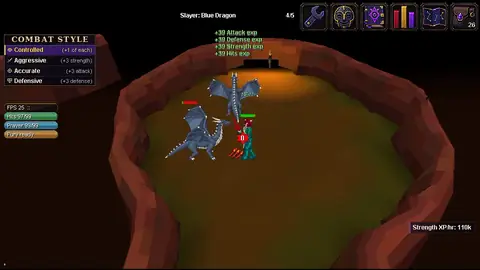
The blue dragons. Before: a corner of the dungeon. After: their own den on level 1.
BeforeAfter
The black dragons. Before: Dragonforge Hollow. After: the Black Roost, a shelf above a deep rift.
BeforeAfter
The forge camp keeps its place, its Dragonforge, Dragon anvil and dragon rocks.
The dragons
Seven new dragons, and the classic ones redrawn. The deeper they live, the more they hit and the better they pay. None of the new dragons drops dragon gear.
The dragons, level by level
Dragon
Level
Where
What hurts it
Watch out for
Cannon
Dragon hatchling
50
The Hatchery (1)
Anything
Ordinary balls
Blue dragon
105
The blue dragons' den (1)
Anything
Dragonfire
Ordinary balls
Black dragon
200
The Black Roost (2)
Anything
Dragonfire
Ordinary balls
Infernal dragon
161
Ember Gallery (3)
Water spells only
Spit, 0 to 10
None hurt it
White dragon
161
Rime Mere (3)
Fire spells only
Spit, 0 to 10
None hurt it
Stone dragon
161
Silt Fens (3)
Wind spells only
Spit, 0 to 10
None hurt it
Storm dragon
161
Silt Fens (3)
Earth spells only
Spit, 0 to 10
None hurt it
Armoured dragon
248
Wyrm Hold (4)
Anything
Breath mark, 25 to 45
Dragon balls only
Plated dragon
250
Wyrm Hold (4)
Anything
Breath mark, 30 to 50
Dragon balls only
Crystal dragon
300
A Hoard den (5)
Players on the task
Its ward; breath 28 to 48
Dragon balls only
Two-headed dragon
302
A Hoard den (5)
Players on the task
Two breath marks, 25 to 40 each
Dragon balls only
Dragon hatchlings, Blue and Black dragons
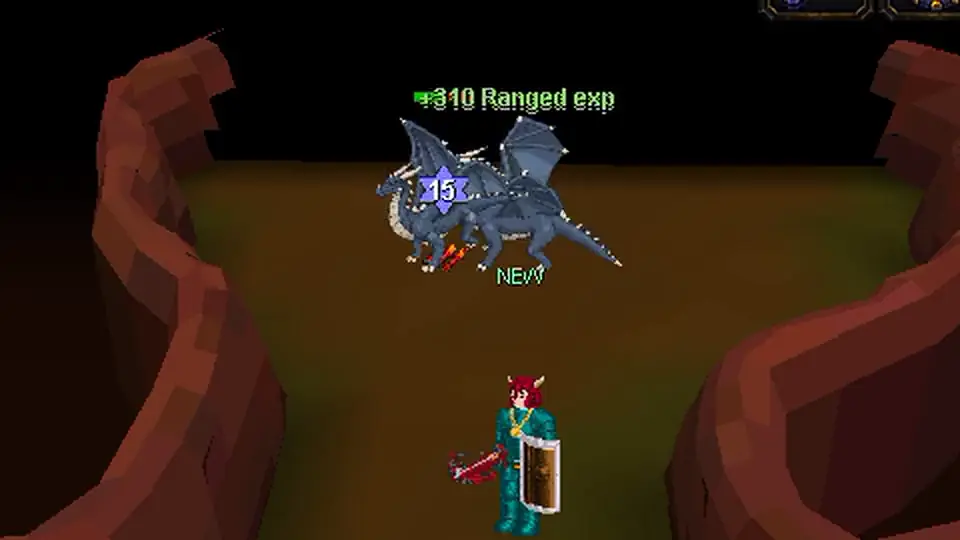
They fight as before, with new art and animations.
Baby blue dragons are now Dragon hatchlings. Besides their big bones they now drop coins, runes and feathers, with a chance at the rare drop table.
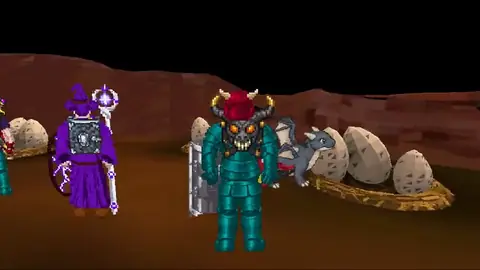
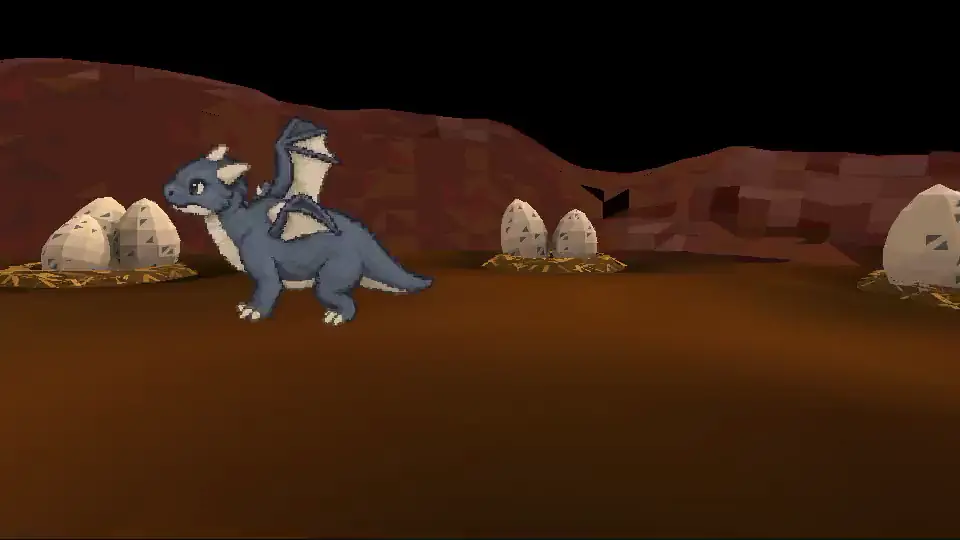
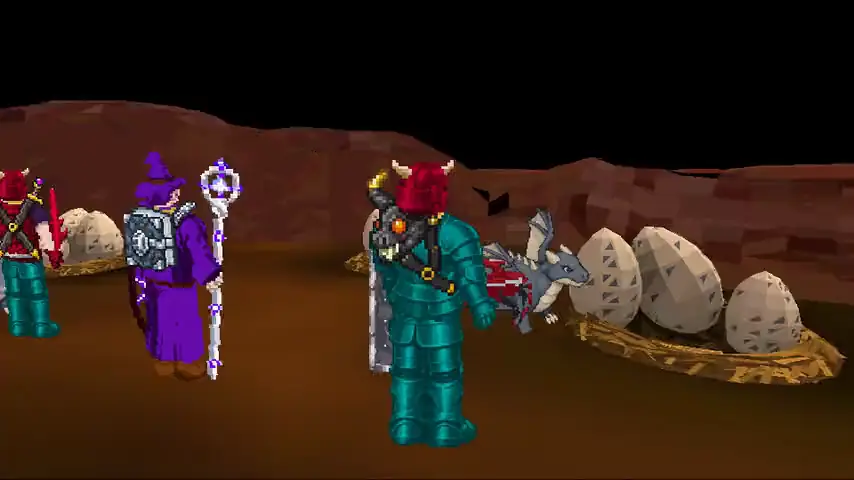
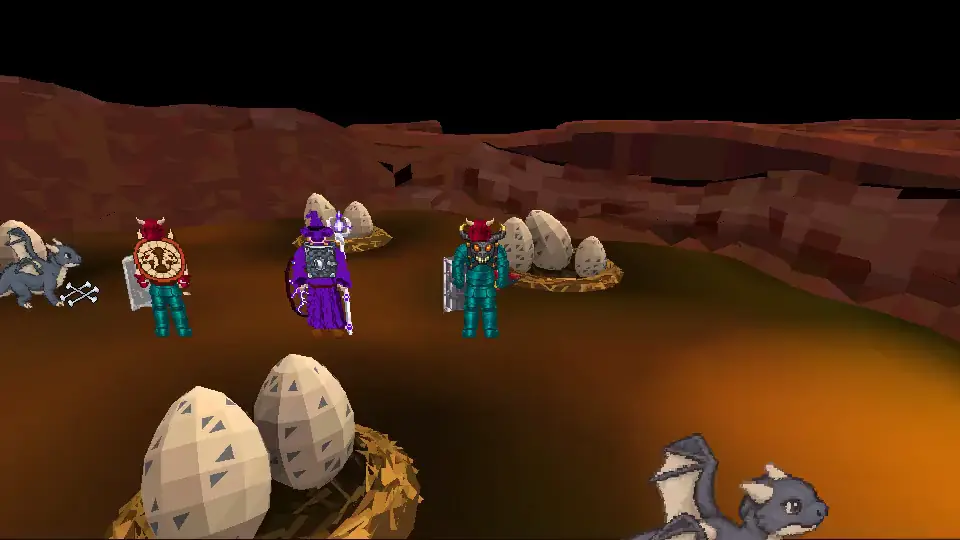
A Dragon hatchling in the Hatchery.
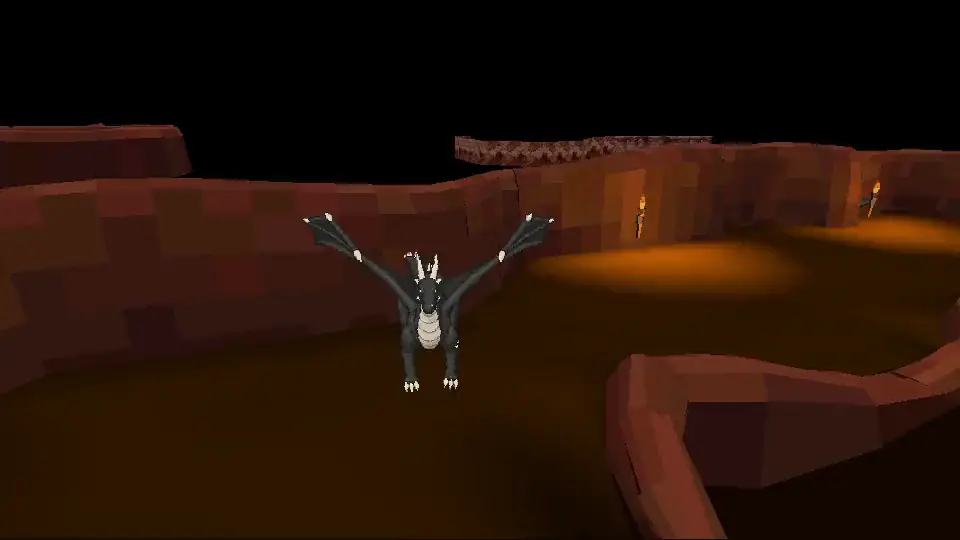
A Black dragon on the Roost.
Elemental dragons (level 161)
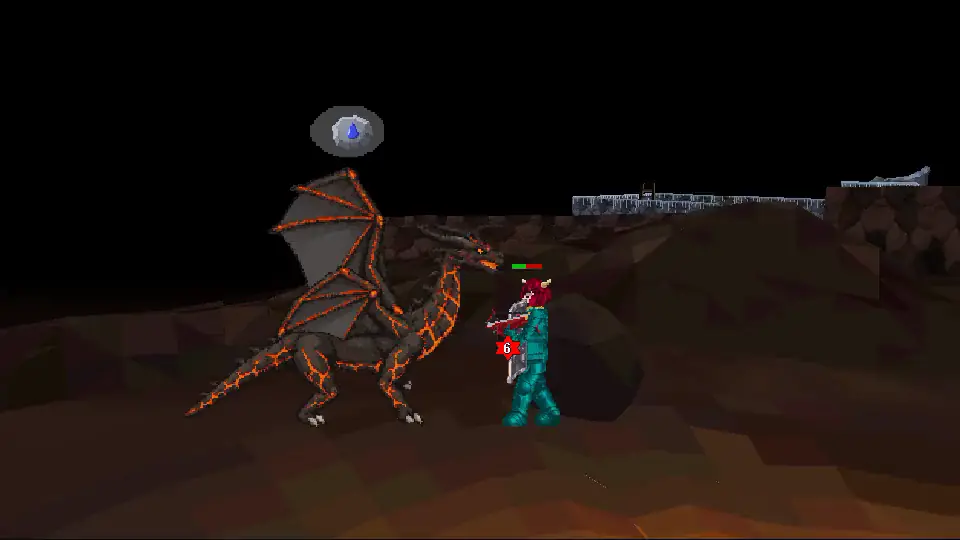
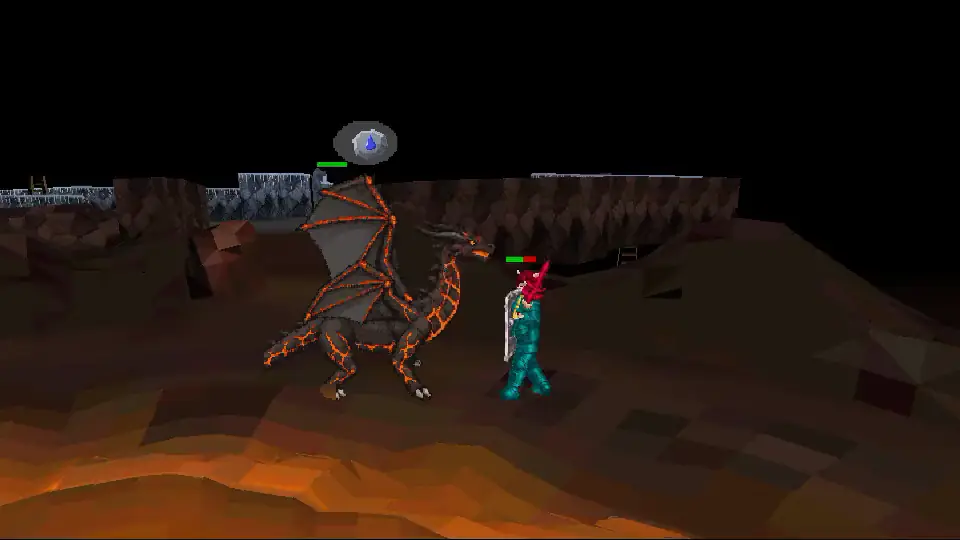
One school of magic hurts each one, shown by the rune over its head: water for the Infernal dragon, fire for the White, wind for the Stone and earth for the Storm dragon.
Weapons, arrows and cannonballs pass straight through them.
They spit from up to 6 tiles away, every 4.8 seconds, for 0 to 10. A dragonfire shield halves it. Prayers don't help.
Elemental dragons: the right school hits hard, up to a cap
Spell rank
Most it can hit an elemental
Strike
10
Bolt
15
Blast
22
Wave
25
Every other spell lands for nothing, god spells included. The right school's power is raised for these dragons, so each school's blast hits about as hard as the others.
The rune over its head names the school that hurts it.
A Dragon sword's hits land for 0: weapons pass straight through.
The spit across five tiles; a shielded player takes 1.
Armoured (248) and Plated (250) dragons
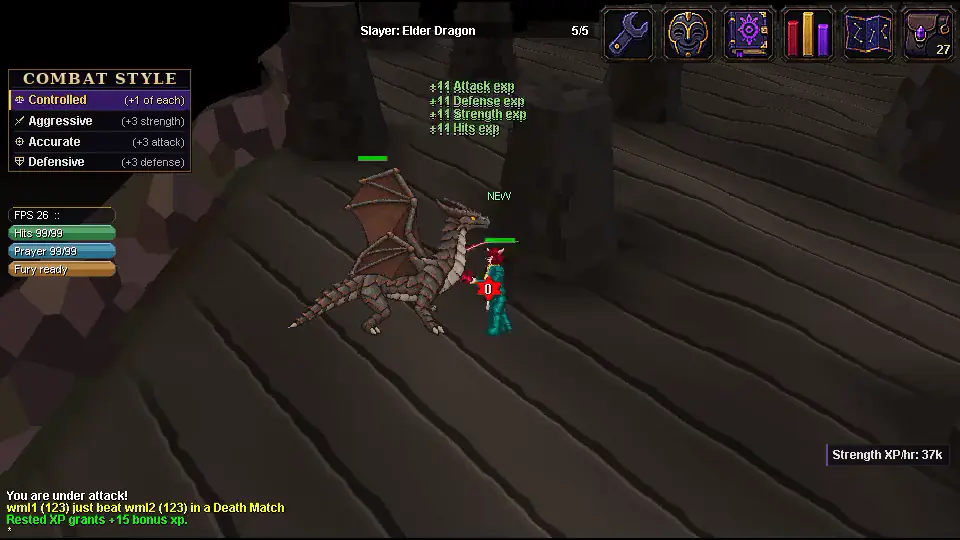
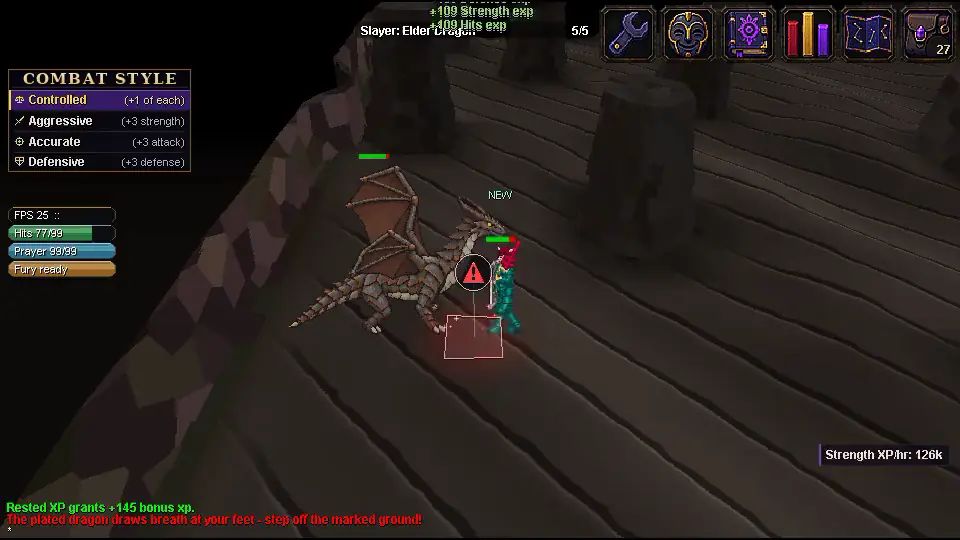
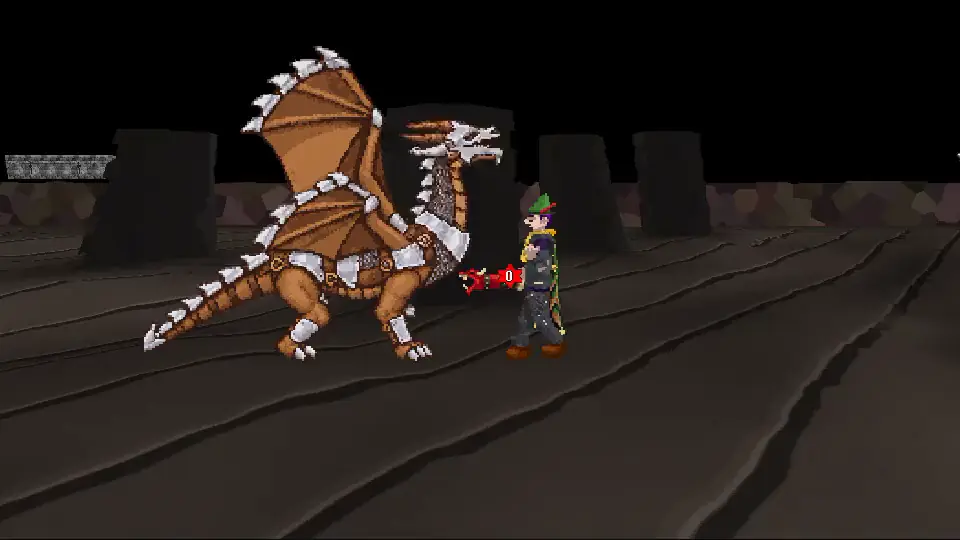
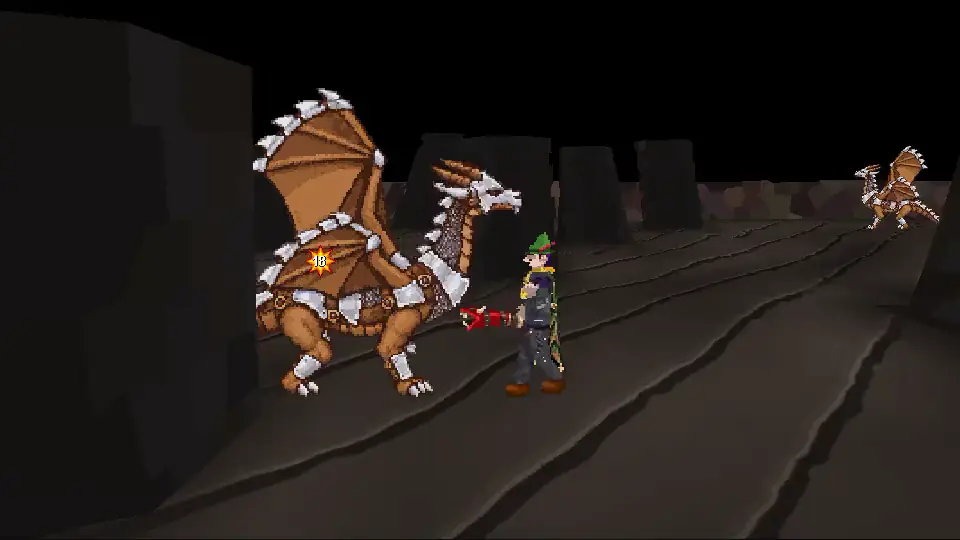
A red mark appears on your tile, and the breath lands 1.2 seconds later on whoever still stands there. Step off the mark.
A new mark comes every 7.8 to 8.4 seconds from an Armoured dragon and every 7.2 to 7.8 seconds from a Plated one, while it fights you. It breathes at you from up to 8 tiles.
Breath: 25 to 45 (Armoured), 30 to 50 (Plated). A dragonfire shield takes 60% off; prayers don't help.
Their bite: 10 to 30 (Armoured) and 8 to 24 (Plated) when it lands. Paralyze Monster halves it.
The red mark: step off it and the breath misses.
Stay on it with a dragonfire shield: it takes the worst of the breath.
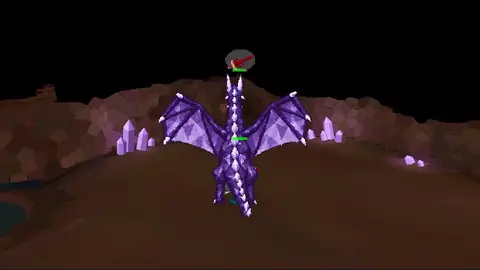
Crystal dragon (300) and Two-headed dragon (302)
Slayer only: only a player on a Crystal or Two-headed dragon task can hurt them, and they never attack anyone who can't.
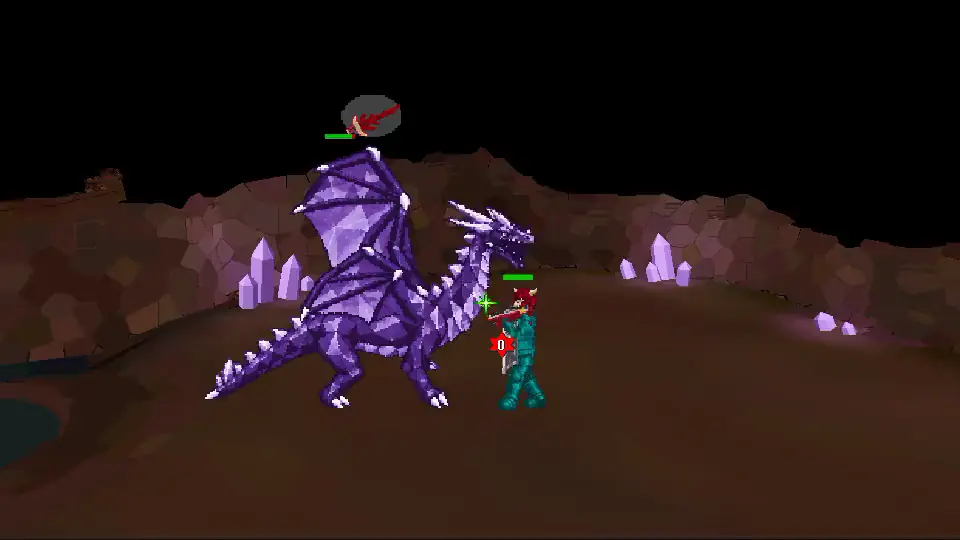
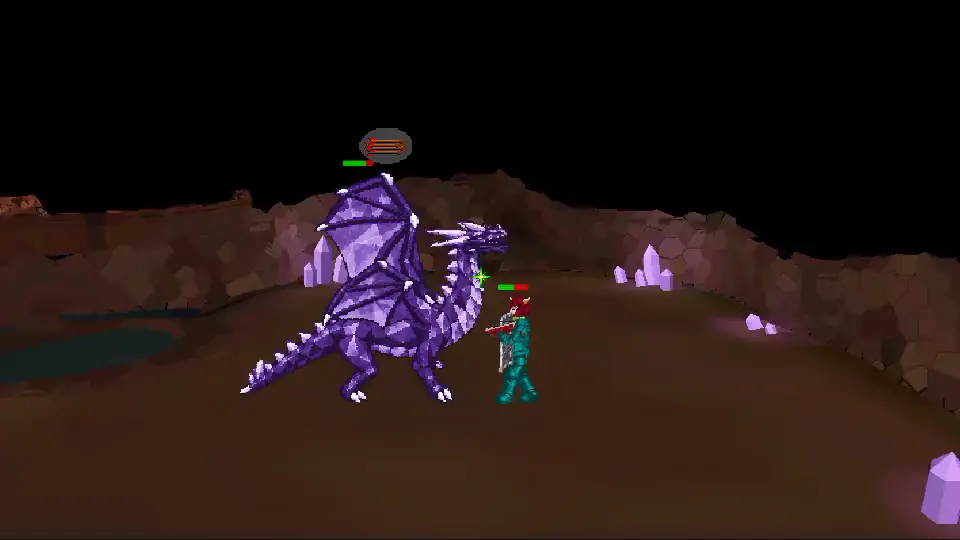
The Crystal dragon's ward: it watches the last 12 seconds of damage. When one attack style deals 40% or more of it, the ward rises against that style (a 3.6 second cue over its head) and stands for 18 seconds: that style does only 35% damage. Then it rests for 9. Switch styles.
The Two-headed dragon has no ward.
The Two-headed dragon breathes from two heads, so two marks come in turn, half a gap apart.
Bites: 12 to 32 (Crystal) and 10 to 28 (Two-headed).
The ward rises against melee: switch to the crossbow.
Two heads, two marks in turn.
Respawns and dragon banes
How fast they come back
Dragon
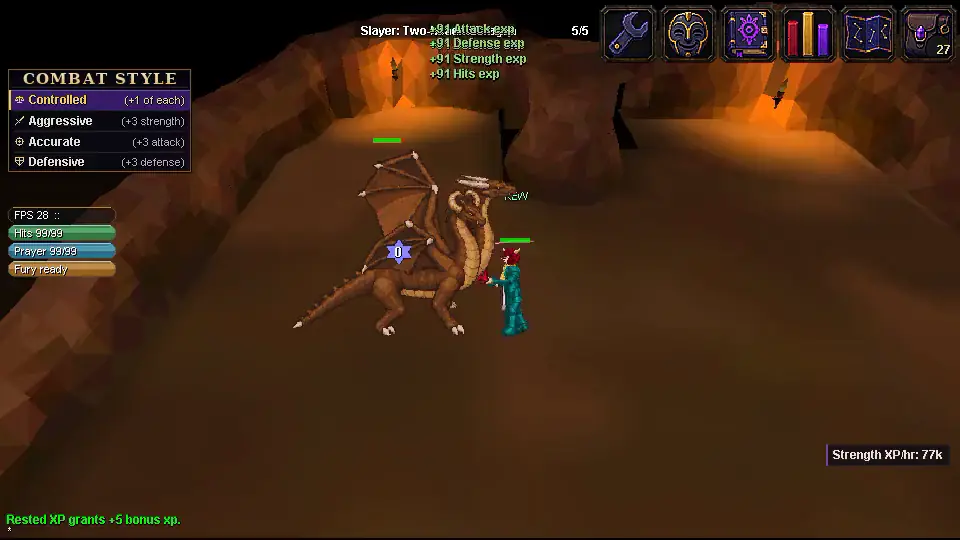
Respawn
Armoured and Plated dragons
60 seconds
Crystal and Two-headed dragons
120 seconds
Elemental dragons, Blue and Black dragons, hatchlings
25 to 35 seconds
The Elder dragon
120 seconds, in your own copy
Safe spots and shields
The new dragons only breathe or spit at a player they could walk up to, so the Silt Fens' pools make real safe spots.
A dragonfire shield here means the Anti dragon breath Shield, the Dragon Square Shield or the Frost bone shield.
Anti dragon breath Shield
Counts as a dragonfire shield.
Dragon Square Shield
Counts as a dragonfire shield.
Frost bone shield
Counts as a dragonfire shield.
Drop tables
Dragon hatchling big bones, plus one roll
Every kill drops big bones and one roll on this table.
Dragon hatchling: one roll
Drop
Chance a roll
400 coins
1 in 1.3
4 Nature-Runes
1 in 24
5 Law-Runes
1 in 120
15 Feathers
1 in 8
3 coal (noted)
1 in 40
Shark (noted)
1 in 30
The rare drop table
1 in 40
Elemental dragons 4,800 coins, plus one roll
Infernal, White, Stone and Storm dragons share one table. Every kill drops 4,800 coins, dragon bones and one roll below.
Elemental dragons: one roll
Drop
Chance a roll
7,600 coins
1 in 2.3
19,200 coins
1 in 4.5
51,200 coins
1 in 18.2
2 uncut diamonds (noted)
1 in 40
4 uncut rubies (noted)
1 in 66.7
4 uncut emeralds (noted)
1 in 133.3
3 Unidentified Ranarr Weed (noted)
1 in 200
4 Unidentified Irit Leaf (noted)
1 in 133.3
4 Snape grass (noted)
1 in 57.1
100 Death-Runes
1 in 66.7
200 Law-Runes
1 in 200
50 Nature-Runes
1 in 80
8 Blood-Runes
1 in 57.1
3 restore prayer Potions (noted)
1 in 33.3
15 Sharks (noted)
1 in 44.4
5 mithril bars (noted)
1 in 40
3 adamantite bars (noted)
1 in 30.8
30 coal (noted)
1 in 80
10 Magic Logs (noted)
1 in 80
The rare drop table
1 in 44.4
Armoured and Plated dragons 12,800 coins, two rolls and Dragon scrap
Every kill drops 12,800 coins, dragon bones, two rolls on this table and Dragon scrap (2 pieces, 4 kills in 5).
Armoured and Plated dragons: each roll
Drop
Chance a roll
16,800 coins
1 in 2.6
39,200 coins
1 in 4.7
92,000 coins
1 in 15.6
224,000 coins
1 in 45.5
4 uncut diamonds (noted)
1 in 45.5
8 uncut rubies (noted)
1 in 100
8 uncut emeralds (noted)
1 in 250
Dragonstone (noted)
1 in 500
6 Unidentified Ranarr Weed (noted)
1 in 250
6 Snape grass (noted)
1 in 83.3
200 Death-Runes
1 in 83.3
400 Law-Runes
1 in 500
100 Nature-Runes
1 in 83.3
20 Blood-Runes
1 in 45.5
8 Soul-Runes
1 in 62.5
8 Dragon bolts
1 in 250
8 adamantite bars (noted)
1 in 20
10 mithril bars (noted)
1 in 41.7
15 adamantite ore (noted)
1 in 41.7
25 Magic Logs (noted)
1 in 71.4
50 coal (noted)
1 in 166.7
5 restore prayer Potions (noted)
1 in 35.7
25 Sharks (noted)
1 in 71.4
The rare drop table
1 in 25
Crystal and Two-headed dragons 39,200 coins, two rolls and their own rares
Every kill drops 39,200 coins, dragon bones and two rolls on this table. The Crystal dragon adds Dragon scrap (4 pieces, 4 kills in 5) and a 1 in 128 Prism tome; the Two-headed dragon a 1 in 256 Twin targe and a 1 in 256 Crossed blades.
Crystal and Two-headed dragons: each roll
Drop
Chance a roll
33,600 coins
1 in 2.6
78,400 coins
1 in 5.2
196,000 coins
1 in 13.2
520,000 coins
1 in 50
10 uncut diamonds (noted)
1 in 50
16 uncut rubies (noted)
1 in 100
16 uncut emeralds (noted)
1 in 250
2 Dragonstones (noted)
1 in 500
12 Unidentified Ranarr Weed (noted)
1 in 250
12 Snape grass (noted)
1 in 100
400 Death-Runes
1 in 100
800 Law-Runes
1 in 500
200 Nature-Runes
1 in 100
50 Blood-Runes
1 in 35.7
18 Soul-Runes
1 in 45.5
18 Dragon bolts
1 in 166.7
16 adamantite bars (noted)
1 in 21.7
20 mithril bars (noted)
1 in 45.5
28 adamantite ore (noted)
1 in 45.5
50 Magic Logs (noted)
1 in 83.3
80 coal (noted)
1 in 166.7
10 restore prayer Potions (noted)
1 in 38.5
50 Sharks (noted)
1 in 71.4
The rare drop table
1 in 18.5
The Elder dragon
Level 320, 444 hit points, on her heap of gold in the Hoard. You face her alone, in your own copy of the Hoard, and she rises again for you 2 minutes after each kill.
320Combat level
444Hit points
4.2 sBetween her attacks
6 + 1Regular attacks, then a special
40%Of a spell's damage reaches her
150%Dragon crossbow damage
2 minUntil she rises again
100,000Coins to reclaim your items
Getting in
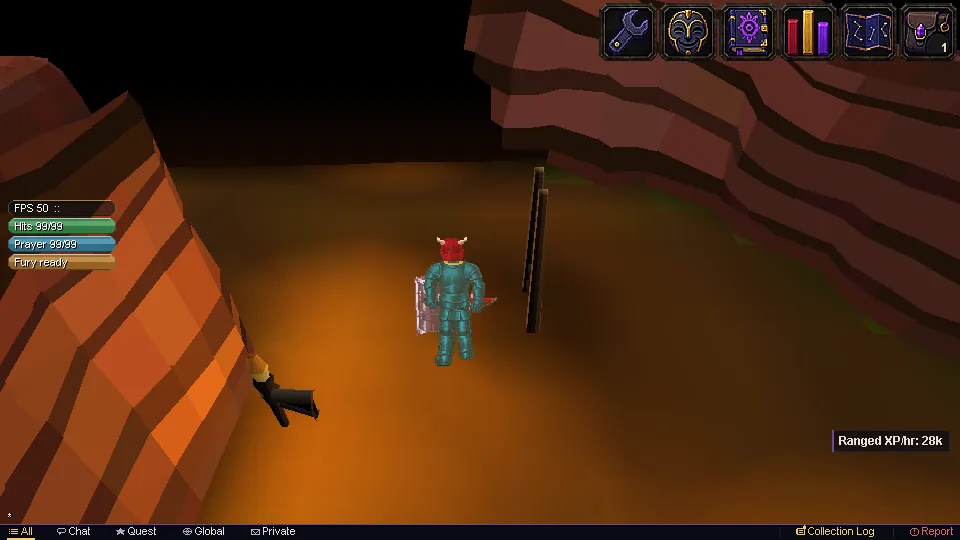
Step over the low stones across the mouth of the Hoard to enter your own copy of it.
Click a stone to leave. Dying, teleporting or logging out also takes you out, and ends her fight.
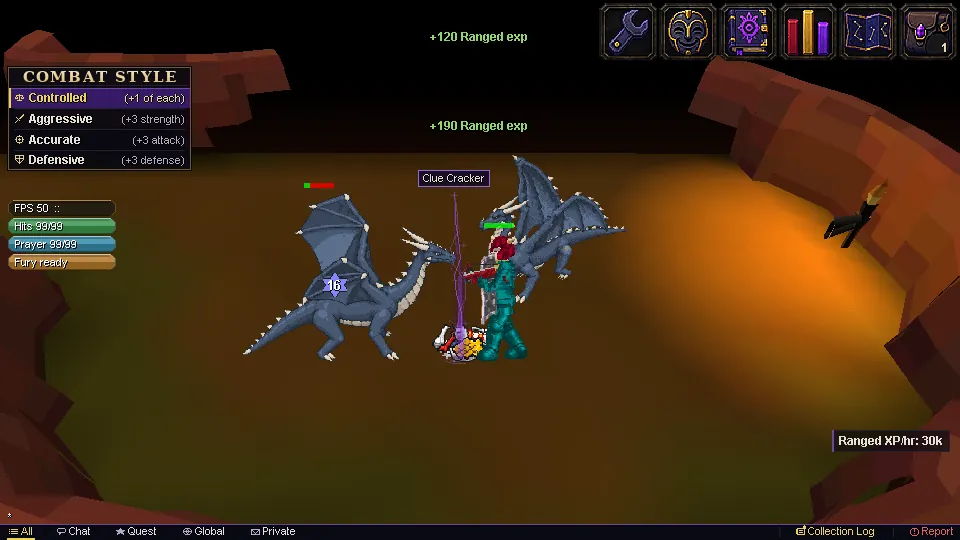
Fight her with ranged or magic. She can't be fought in melee. Spells do 40% of their damage to her, and the Dragon crossbow, with any bolt, hits her 50% harder.
Her 66% and 33% looks are only looks. She doesn't speed up or hit harder as she weakens.
She waits for your first hit; her first attack comes one full cycle after it.
You can't step back over the stones while you're frozen.
Step over the low stones into your own copy; her bar reads 444.
On an Elder task, Teleport to task lands you at the mouth, by the stones.
Melee can't reach her, and spells land at 40%.
The Dragon crossbow hits her 50% harder.
Read her attacks
Her attacks (one every 4.2 seconds: six regular attacks, then a special)
Attack
Damage
How to take less
Magic bolt
0 to 30
Protect from Magic halves it.
Hurled stone
0 to 32
Protect from Missiles halves it.
Claws (only beside her)
0 to 32
Stand off her. Paralyze Monster halves it.
Molten wave (only in front of her jaws)
0 to 80
Stand out of her cone, or wear dragonfire protection (below).
Fire bomb (lands on your tile)
108 to 121
Step two tiles away: half on the tiles round it, nothing two tiles off.
Special: molten rain
Pools: up to 10 a tick; fireballs 25 to 41 each
Keep walking. 25 fireballs fall where you stood a moment before.
Special: frost
Hatchling bite 60
You freeze; kill the hatchling in about 2 seconds.
Fire bomb: it is lobbed at your tile as she casts it. Two steps and you take nothing.
Molten rain: pools land across her floor, one on your tile; standing in one burns you up to 10 a tick and heals her as much. Then 25 fireballs, one a tick, each aimed where you stood a moment before. Keep walking and none of them hits. She takes half damage while it lasts.
Frost: she freezes you for no damage, and a hatchling lands 5 tiles away and runs at you. It has 1 hit point; kill it before it reaches you or it bites for 60. She takes no damage until it is dead.
The specials take turns; her first is chosen at random.
Dragonfire protection against her molten wave
You wear
Takes off
A dragonfire shield
80%
A dragon plate body or plate top
15%
They add up, to nothing at all. The fireballs in her molten rain go through any protection.
Her regular attacks: bombs, the wave, stones and a bolt.
The fire bomb bursts where you stood: step two tiles off.
The molten wave from her jaws: a shield cuts it to 11 here.
Molten rain: keep walking and the fireballs miss.
Frost: frozen in place, shoot the hatchling and the ice shatters.
What every kill pays
Always: 55,600 coins and 10 Blood-Runes.
Two rolls on her main table, below, one after the other.
Her rares, each rolled on its own. The Elder head always comes by your 50th kill without one.
On a Slayer task: an extra roll at a Slayer unique (1 in 30).
Her rares, rolled on every kill
Drop
Chance a kill
Elder head
1 in 50, and always by your 50th kill without one
Elder skull
1 in 500
Broken ancient dragon mace
1 in 500
Elder visage
1 in 1,500
Her main table (rolled twice a kill)
Drop
Chance a roll
36,000 coins
1 in 2.2
79,200 coins
1 in 4.4
180,000 coins
1 in 11.1
440,000 coins
1 in 45.5
1,080,000 coins
1 in 250
10 uncut diamonds (noted)
1 in 52.6
16 uncut rubies (noted)
1 in 125
3 Dragonstones (noted)
1 in 1,000
3 uncut dragonstones (noted)
1 in 166.7
12 Unidentified Ranarr Weed (noted)
1 in 333.3
12 Snape grass (noted)
1 in 125
40 Blood-Runes
1 in 52.6
500 Death-Runes
1 in 125
1,000 Law-Runes
1 in 500
250 Nature-Runes
1 in 142.9
20 Soul-Runes
1 in 83.3
20 Dragon bolts
1 in 250
12 restore prayer Potions (noted)
1 in 58.8
60 Sharks (noted)
1 in 100
20 adamantite bars (noted)
1 in 40
25 mithril bars (noted)
1 in 90.9
40 steel bars (noted)
1 in 125
60 Magic Logs (noted)
1 in 142.9
100 coal (noted)
1 in 333.3
The rare drop table
1 in 32.3
Her rares, in the bag.
The death chest
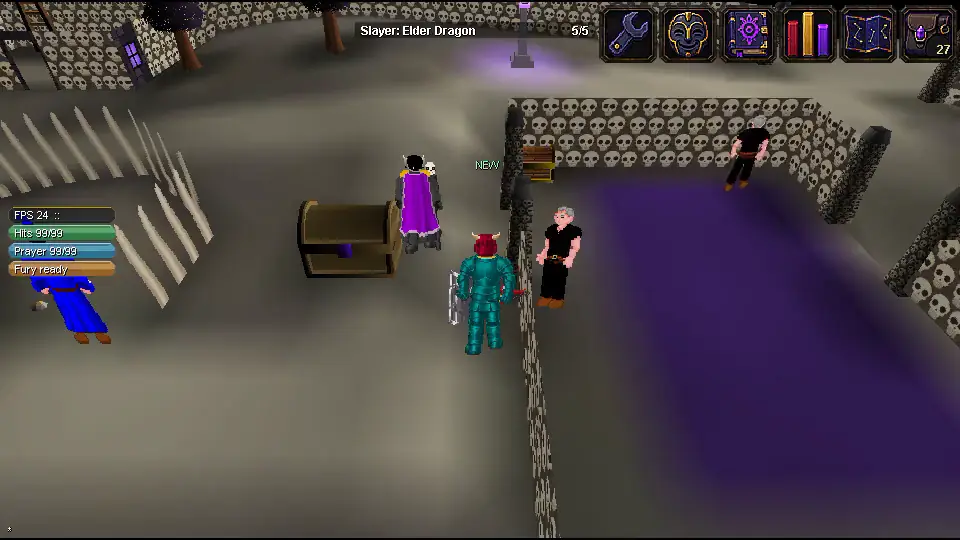
The Hoard floor is deadly. If you die there, your items wait in the chest at the Wyrmmaw's entrance. Buy them back for 100,000 coins.
Die there again before you collect and the older batch is lost.
The chest by the stone head: pay 100,000 coins and take them back.
Slayer
Vexis has five dragon tasks, four new superiors to find, and three new uniques that every superior can drop.
New Vexis tasks
Task
Slayer
Combat
Kills
Elemental dragons (any of the four)
75
100
20 to 40
Armoured dragons (Armoured or Plated)
85
110
20 to 40
Crystal dragons
85
110
5 to 10
Two-headed dragons
90
110
5 to 10
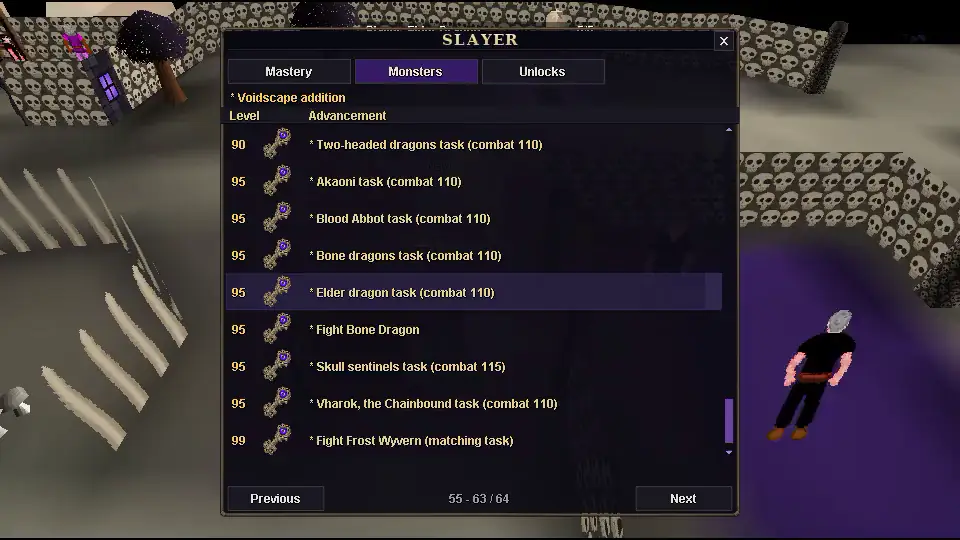
The Elder dragon
95
110
3 to 5
Every kind in each family counts: any elemental for Elemental dragons; the Armoured or Plated dragon for Armoured dragons.
Slayer-only dragons: only a player on that task can hurt a Crystal or Two-headed dragon, and they never attack anyone who can't.
On an Elder dragon task, each kill also gives you a roll at a Slayer unique (1 in 30).
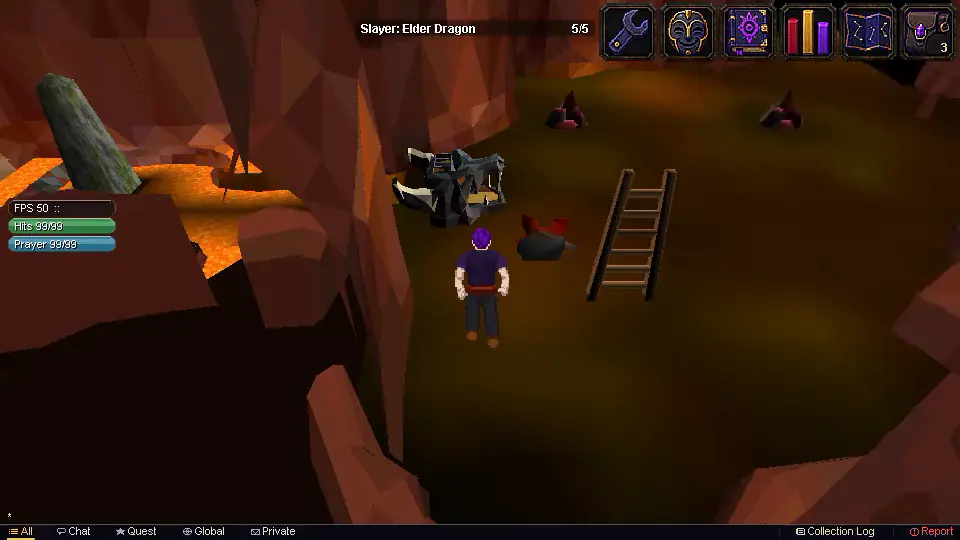
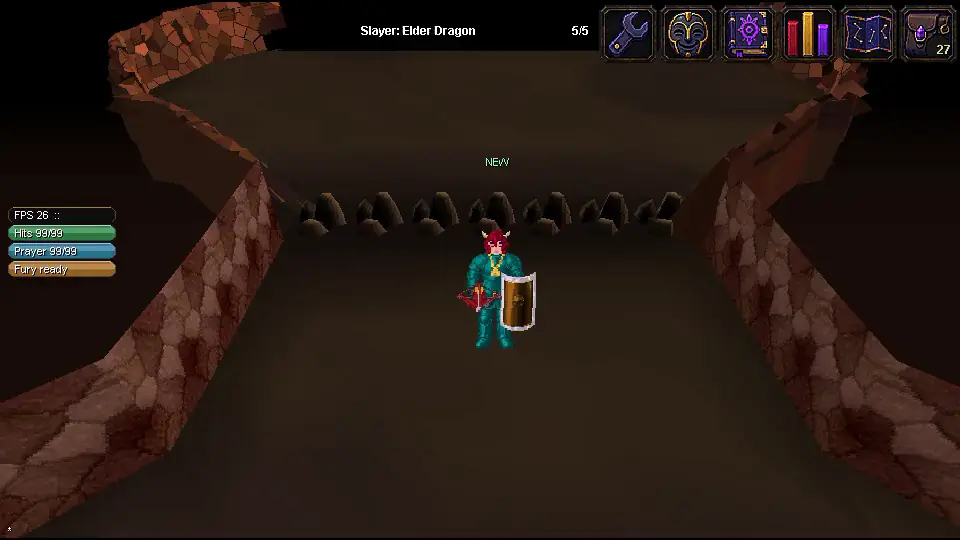
The Slayer guide: the Elder dragon task at Slayer 95, combat 110.
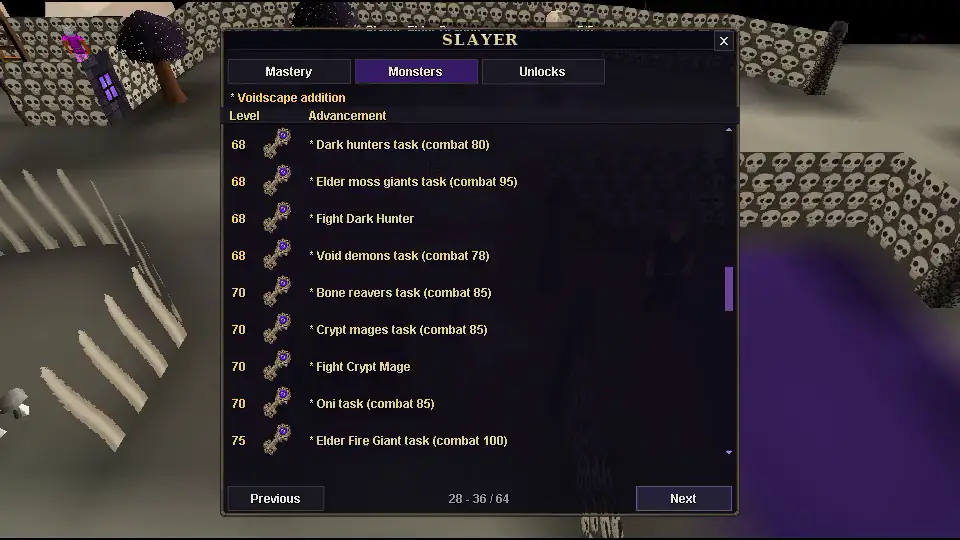
Elemental dragons at Slayer 75, Armoured dragons at 85.
Off task, the Crystal dragon pays you no mind.
Superiors
The four new superiors
Superior
Level
Drops
Superior blue dragon
177
A Blue dragon's loot three times
Superior black dragon
333
A Black dragon's loot three times
Superior crystal dragon
406
A Crystal dragon's loot three times
Superior two-headed dragon
411
A Two-headed dragon's loot three times
Every superior also drops a Slayer Key, and a chance at a Bone robe top (1 in 32) and a Bone robe bottom (1 in 32).
Bigger and Badder now covers the four new superiors.
A superior appears 1 in 200 task kills, or 1 in 100 while you carry a Slayer bell. You need Bigger and Badder unlocked.
A superior dragon stays 5 minutes; other superiors 3.
"A superior foe has appeared..."
A superior's kill pile: its parent's loot three times.
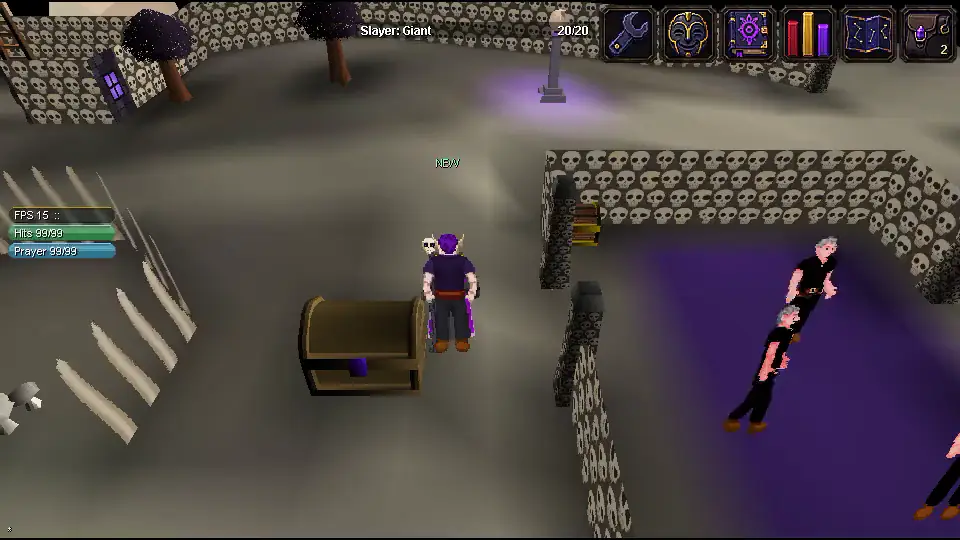
The three Slayer uniques
Slayer compass
Point it to Teleport to task for free, once every 30 minutes. The wait starts only once it has moved you, and it doesn't work for Wilderness tasks.
TradeableSuperiors
Slayer bell
While you carry it, superiors appear 1 in 100 task kills instead of 1 in 200.
TradeableSuperiors
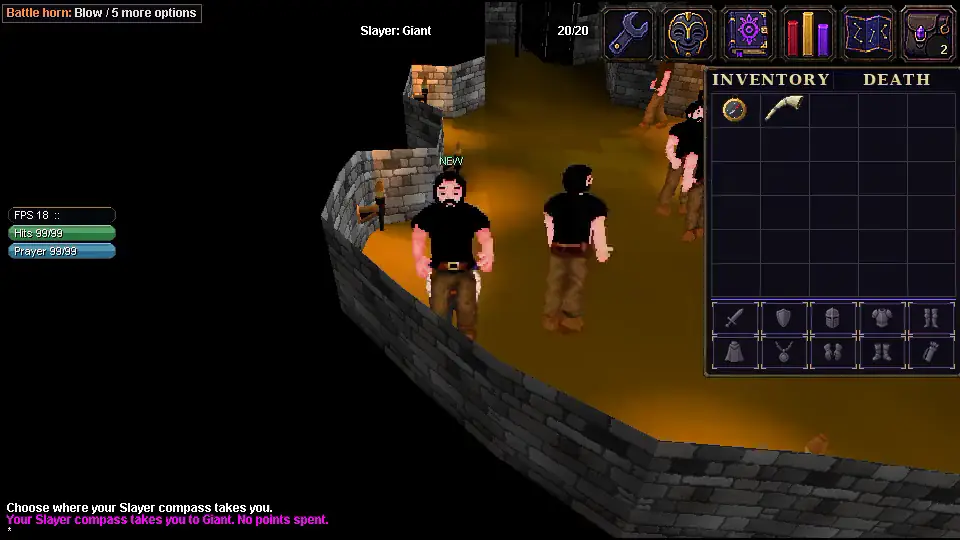
Battle horn
Blow it to raise Attack, Strength and Defence by 70% of a super set's boost, once every 10 minutes: at 99, each goes to 112, where a super set gives 118.
It never lowers a stronger boost, and can't be used in duels or events.
TradeableSuperiors
Slayer unique chance, by superior
Superior
A unique
Slayer compass
Slayer bell
Battle horn
Hill giant, moss giant, ice warrior, chaos dwarf
1 in 30
1 in 75
1 in 75
1 in 150
Ice giant, lesser demon, fire giant
1 in 20
1 in 50
1 in 50
1 in 100
Black demon, blue dragon, black dragon
1 in 12
1 in 30
1 in 30
1 in 60
Crystal dragon, two-headed dragon
1 in 8
1 in 20
1 in 20
1 in 40
A unique is a Slayer compass two times in five, a Slayer bell two times in five, and a Battle horn one time in five.
The three uniques.
The compass: a free Teleport to task.
The Battle horn: Attack, Strength and Defence up.
Loot: offhands and the Ancient dragon mace
The new dragons drop goods the economy is short of, more the deeper they live, and leave dragon bones. The seven new rares have Collection Log entries in the Prestige tier.
Four offhands
Worn on your back with any weapon or shield, one at a time.
Each needs 70 in its skill: Ranged, Magic, Defence or Attack.
They share the back slot with the Marksman's Quiver and Victor's banner, so you wear one of those at a time.
The skull, the tome, the blades and the targe, worn.
Three backs: the Twin targe, the Prism tome and the Elder skull.
Elder skull
Ranged 70. Ranged aim +9, Ranged power +5.
The Elder dragon: 1 in 500.
TradeablePrestige log
Prism tome
Magic 70. Magic +8, Prayer +2.
The Crystal dragon: 1 in 128.
TradeablePrestige log
Twin targe
Defence 70. Armour +8, Aim +2.
The Two-headed dragon: 1 in 256.
TradeablePrestige log
Crossed blades
Attack 70. Aim +6, Power +5.
The Two-headed dragon: 1 in 256.
TradeablePrestige log
The Ancient dragon mace
Ancient dragon mace
Needs Attack 90 and Magic 45. Aim +45, Power +97.
Every hit thumps, and a hit at your best possible damage smashes. That's how it looks: its damage is its stats.
TradeableRelicsmith title
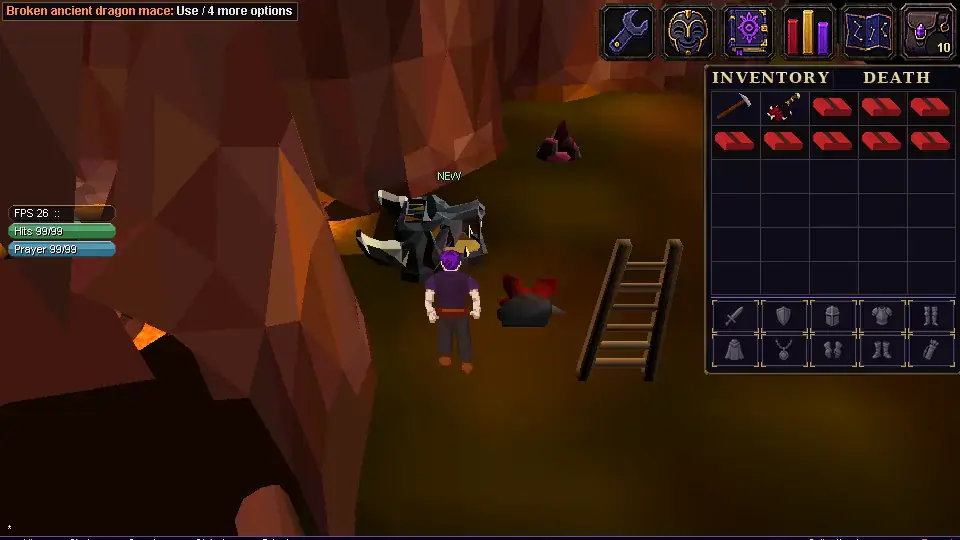
Get the broken mace
The Elder dragon drops the Broken ancient dragon mace, 1 in 500 a kill. It trades, so you can also buy one.
Bring 8 dragon bars and a hammer
to the Dragon anvil in the Black Roost's forge camp. You need Smithing 110.
1Broken ancient dragon mace+8Dragon bar=1Ancient dragon mace
Use the broken mace on the anvil
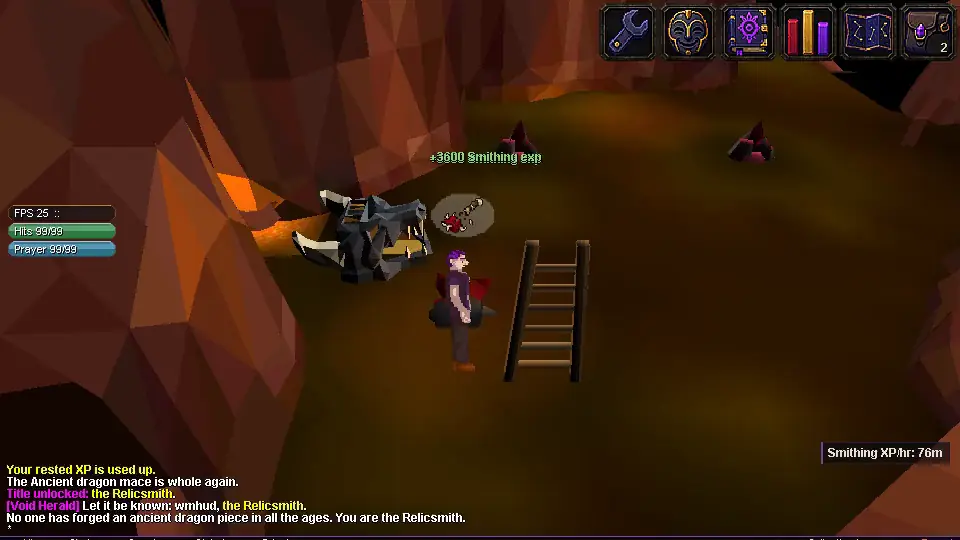
The first player to forge one becomes the Relicsmith.
The broken mace and 8 dragon bars on the Dragon anvil.
The world's first forge: the Relicsmith.
A true max hit: the full smash.
Crossbow bolts: a step-by-step guide
Forge your own bolts from bars, then turn Dragon bolts into Ember or Piercing bolts for the lair.
1. Forge Bolts
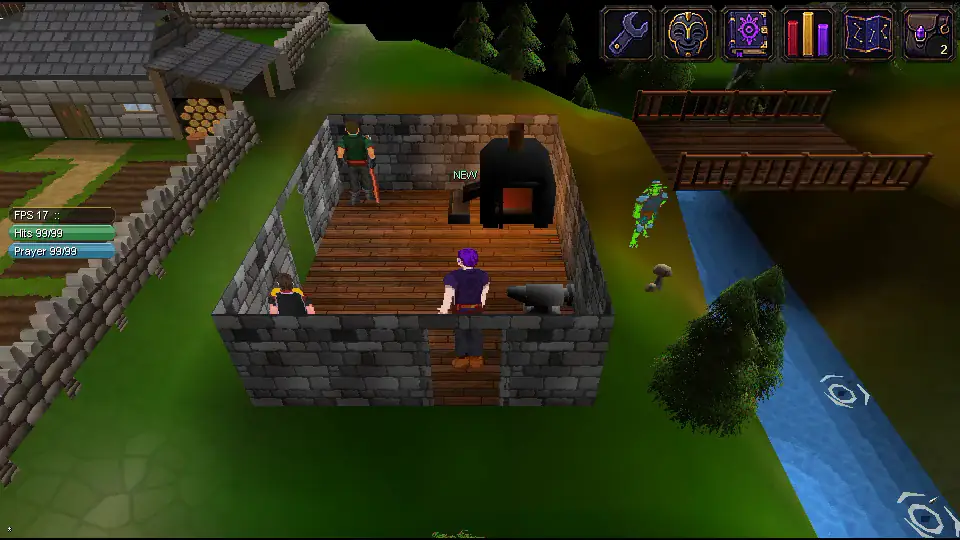
Take bars and a hammer to any anvil
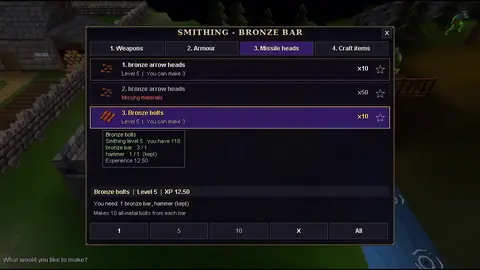
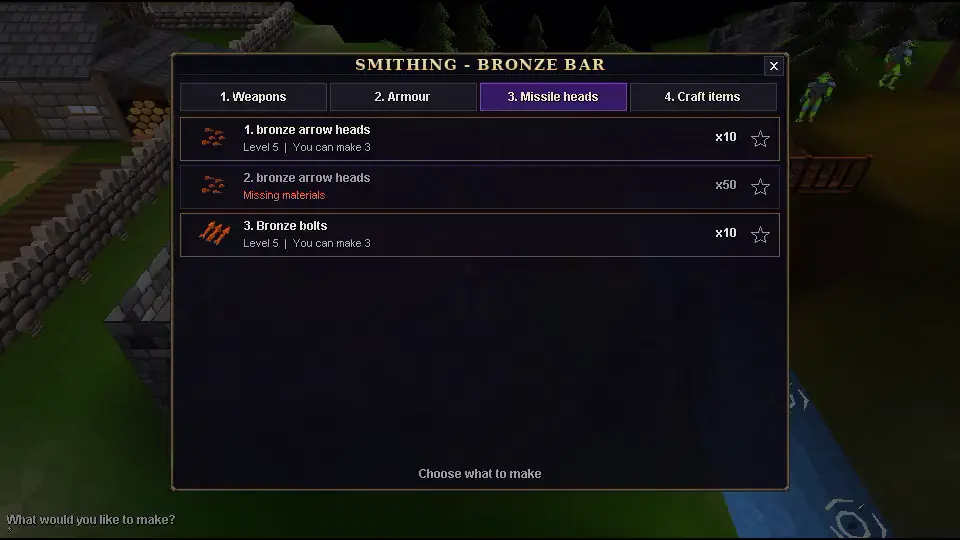
Use a bronze, iron or steel bar on the anvil and pick Forge Bolts. Every bar makes 10 bolts.
1Bronze bar=10Bronze bolts
1Iron bar=10Crossbow bolts
1Steel bar=10Steel bolts
Check your level
Smithing 5 for bronze, 20 for iron and 35 for steel. Bronze bolts and Steel bolts are new.
Forge Bolts in the Smithing menu.
2. Ember and Piercing bolts
Ember bolts, at Fletching 82
Use Blaze-Runes on Dragon bolts: one Blaze-Rune and one Dragon bolt make one Ember bolt, up to 10 at a time.
10Blaze-Runes+10Dragon bolts=10Ember bolts
Piercing bolts, at Fletching 85
Use a diamond on Dragon bolts to make 50.
1Diamond+50Dragon bolts=50Piercing bolts
Load the Dragon crossbow
Both fire only from the Dragon crossbow, which takes Piercing bolts first, then Ember bolts, before any other bolt in your pack.
Blaze-Runes on Dragon bolts: 10 Ember bolts a batch.
A diamond on Dragon bolts: 50 Piercing bolts.
Ember bolts
One landed hit in 8 sets a monster burning, and the fire spreads to monsters right beside it.
TradeableDragon crossbow
Piercing bolts
Against the armoured lair dragons and the Elder dragon, some shots punch through: they can't miss, and they crack the plate, lowering its Defence for about 30 seconds.
TradeableDragon crossbow
3. How they work
Bolt power (higher hits harder)
Bolt
Power
Made
Bronze bolts
15
Smithing 5
Crossbow bolts (iron)
20
Smithing 20
Steel bolts
25
Smithing 35
Dragon bolts
50
Ember bolts
50
Fletching 82
Piercing bolts
50
Fletching 85
Ember bolts: one landed hit in 8 sets a monster burning: 3 burns, 1.2 seconds apart. Each burn hits for its heat, which starts at 1 and rises by 1 with each new burn within 30 seconds, up to 3 (1 on bosses). The fire spreads, at heat 1, to every monster right beside the target that could fight you.
Ice burns hotter: ice giants, ice warriors, ice spiders, the Ice Queen, Frost wyverns and the White dragon take three times the burn. Fire giants, the Infernal dragon and the Elder dragon's molten form never catch.
Piercing bolts: one shot in 7 at an Armoured, Plated, Crystal or Two-headed dragon (1 in 12 at the Elder dragon) punches through. It can't miss, and it cracks a plate: the dragon's Defence drops by 5% of its base for 30 seconds, up to 3 cracks at once (1 on the Elder dragon).
You can see both on the hit splat: an orange burst for each burn, a pale blue burst for a punch-through.
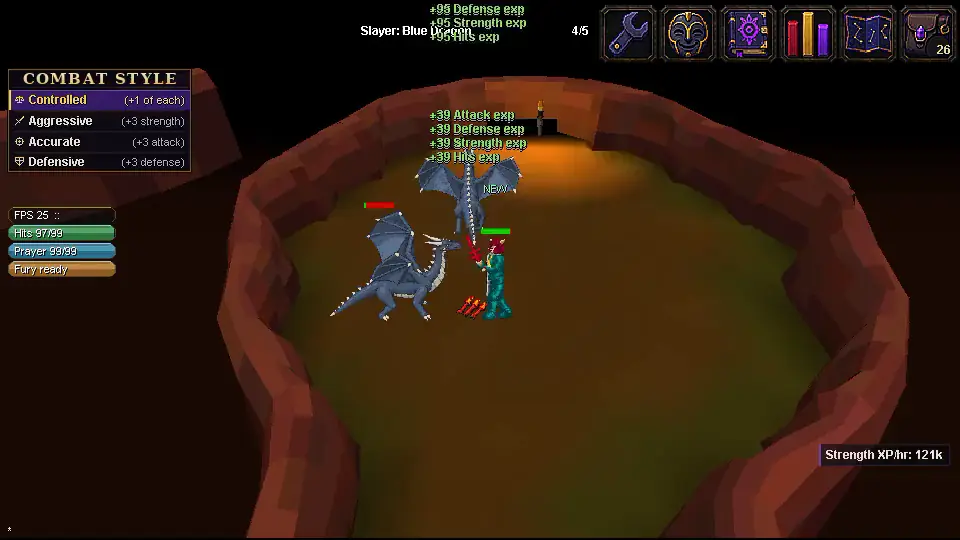
Ember bolts: the burn on two blue dragons.
A Piercing bolt's punch-through on the Crystal dragon.
The Dragon hand cannon and Dragonforge ammo
A new two-handed ranged weapon at 80 Ranged. It fires a Dragon cannonball about every 3 seconds, and its shots cut through the hard armour of the Armoured, Plated and Crystal dragons.
Dragon hand cannon
Two-handed. Needs Ranged 80.
Fires ordinary cannonballs too, weaker and without the armour cut; a Dragon cannonball goes first when you carry both.
Tradeable
Dragon cannonball
Ammo for the hand cannon, and for a dwarf cannon on the Armoured, Plated, Crystal and Two-headed dragons.
Tradeable
Dragon scrap
Turns 10 cannonballs into Dragon cannonballs at the Dragonforge.
TradeableStacks
How it shoots
The hand cannon at a glance
Dragon hand cannon
Wield
Ranged 80, two-handed
Ranged aim
+30
Speed
One shot every 3 seconds (a crossbow: every 1.8)
Dragon cannonball power
130 (a Dragon bolt: 50)
Ordinary cannonball power
60, with no armour cut
The armour cut
A Dragon cannonball meets only 25% of an Armoured, Plated or Crystal dragon's Defence
Targets
Monsters only, never players
Ammo
Spent on firing: nothing falls to pick up
Dragon cannonballs on an Armoured dragon: the armour-cutting burst on each hit.
Ordinary cannonballs: weaker, and with no cut the plate turns most of them.
Step by step
Smith it at the Dragon anvil
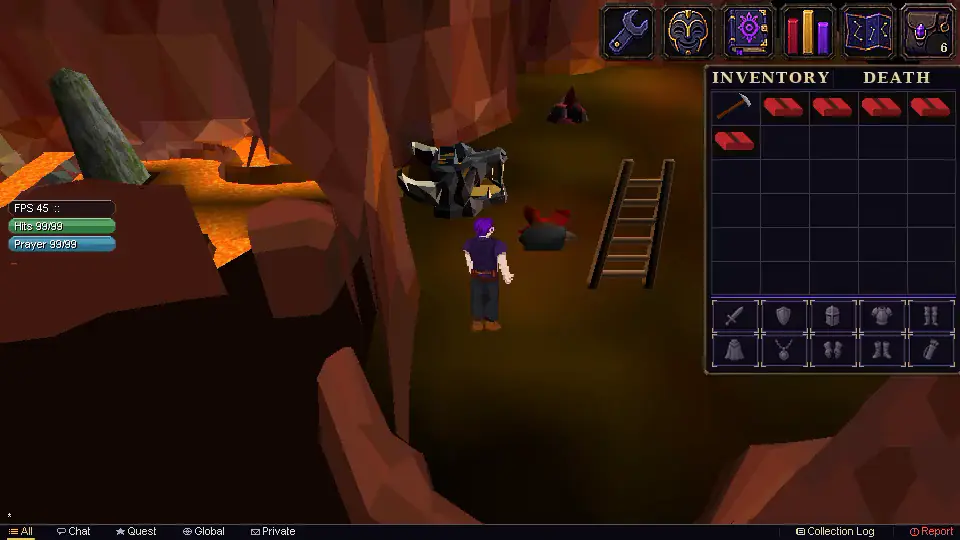
In the Black Roost's forge camp, with a hammer and 5 dragon bars, at 104 Smithing and 99 Fletching.
5Dragon bar+Hammer=1Dragon hand cannon
Cast Dragon cannonballs at the Dragonforge
At Smithing 102, carrying an ammo mould: 1 dragon bar and 150 cannonballs make 150.
1Dragon bar+150Cannonball=150Dragon cannonball
Or use Dragon scrap
Armoured, Plated and Crystal dragons drop Dragon scrap. Each piece turns 10 cannonballs into dragon ones at the Dragonforge, and cannonballs you use on the forge take your scrap before a bar.
1Dragon scrap+10Cannonball=10Dragon cannonball
The Dragon anvil's fourth line: the Dragon hand cannon.
A dragon bar and 150 cannonballs at the Dragonforge: 150 Dragon cannonballs.
Dragon scrap at the Dragonforge: 10 cannonballs a piece.
Where Dragon scrap drops
Dragon
Scrap
Chance a kill
Armoured dragon
2
4 in 5
Plated dragon
2
4 in 5
Crystal dragon
4
4 in 5
Dwarf cannons in the lair
Dwarf cannons work in the Wyrmmaw, except in the Hoard and its mouth.
Ordinary cannonballs bounce off the new dragons (and pass through the elementals). The classic Blue and Black dragons and the hatchlings still take them.
Load Dragon cannonballs to fire on the Armoured, Plated, Crystal and Two-headed dragons.
Aim it yourself: use Dragon cannonballs on your cannon to take control. You lose control after 10 seconds without a shot or if you step away.
In the lair the aimed shot is held back: against those four dragons it hits as hard as an ordinary cannonball does elsewhere (out of the lair it hits three times as hard and splashes), reloads in 3.6 seconds, doesn't splash, and fires only at a dragon that can reach you.
The Hoard is cannon-free, and deeper in the lair a cannon needs open floor on all four sides.
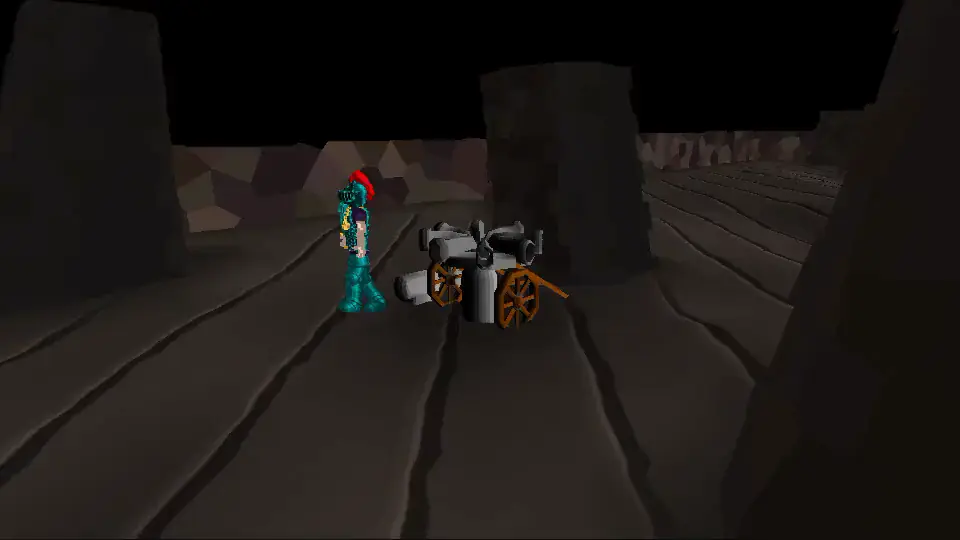
A dwarf cannon on the Wyrm Hold's floor.
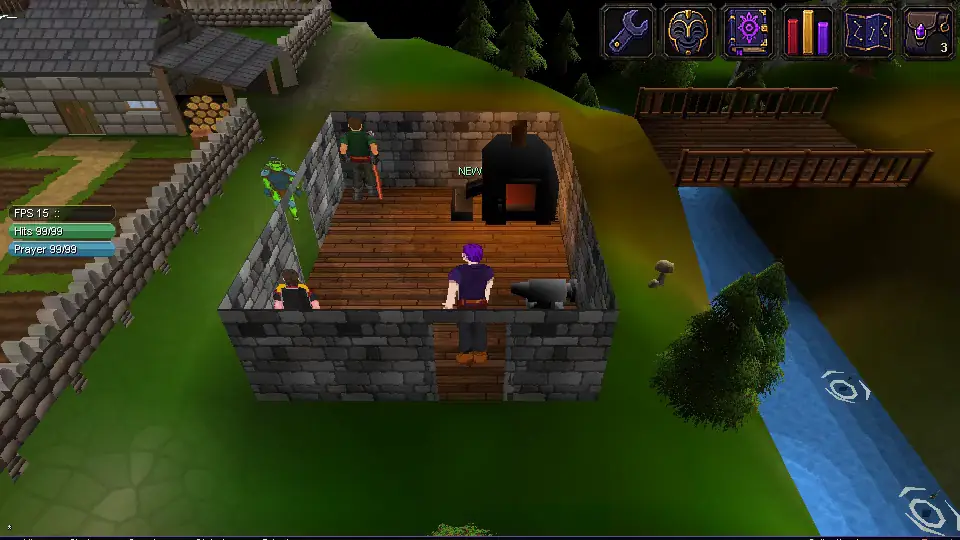
Down to the forge camp, home of the Dragonforge and the Dragon anvil.
Our own gods
The god spells now belong to our own gods: Star of Vela, Stones of Karst and Wave of Nerra, each with its own look and spellbook icon. Nerra's wave is a real 3D wave.
Charge comes first. Cast Charge (Magic 80) wearing a god's staff and the same god's cape, or a god spell is refused.
Charge now works in raids, Sivhara's fight and duels that allow magic.
The Mage Arena follows them: its faith stones are the Vela, Karst and Nerra stones, in their gods' colours, and the Chamber Guardian explains the Charge rule.
Jack's Trick Bag has left the Lumbridge lawn.
Star of Vela, Stones of Karst and Wave of Nerra.
Charge, then a god spell.
The three god spells
Spell
Runes
A hit also lowers
Staff
Star of Vela
4 Air, 2 Blood, 2 Fire
Prayer by 1
Staff of Vela
Stones of Karst
4 Air, 2 Blood, 1 Fire
Defence by 1 + 5%, if not already lowered
Staff of Karst
Wave of Nerra
1 Air, 2 Blood, 4 Fire
Magic by 1 + 5%, if not already lowered
Staff of Nerra
Each is a Magic 60 spell, but needs Charge (Magic 80) first, so in practice you need Magic 80. Spell power is 18, or 25 while you're charged and wearing any god's cape. As before, 100 casts in the Mage Arena teach a spell for use outside it.
Charge
80Magic level
3 + 3 + 3Air, Blood and Fire runes
6 minIt lasts; casting it again starts a fresh 6
Staff + capeOne god's staff and the same god's cape
Vela cape
Magic +10. Free from the Vela stone in the Mage Arena; a replacement after you lose one in PvP costs 100 coins.
Members
Staff of Vela
Magic 60. Aim +6, Power +2, Magic +6. Your first staff is free from the Chamber Guardian; more cost 80,000 coins.
Members
Karst cape
Magic +10. From the Karst stone.
Members
Staff of Karst
Magic 60. Aim +6, Power +2, Magic +6.
Members
Nerra cape
Magic +10. From the Nerra stone.
Members
Staff of Nerra
Magic 60. Aim +6, Power +2, Magic +6.
Members
The Mage Arena and its three stones.
The three gods' mages.
A god spell in a duel.
Black Hole and writing spells
Black Hole (Magic 85, members)
Runes: 2 Death, 2 Cosmic and 2 Air.
Cast it on a monster to drag it and up to 5 more within 3 tiles together. 2.4 seconds later it collapses, hitting each one a little weaker than Fire wave.
Only monsters still within 1 tile of the hole when it collapses are hit.
It never touches players, bosses, event or quest monsters, or a monster someone else is fighting.
You can open one every 6 seconds.
Black Hole pulls a herd together, then collapses.
Writing at the lecterns
Lecterns stand by the Swamp, Dunes, Summit and Crater circles. Write a batch of pages at once, for half the Write spell's experience: up to 30 at Alchemy 99, fewer at lower levels.
A page takes 6 seconds, and costs the same runes as casting Write for it, plus a blank page. Stay beside the lectern.
The Alchemist sells blank pages at 25 coins each, in any amount.
At Construction 99 you can build your own circle in your garden, and your Lectern can stand there too.
Pages a lectern writes in one go
Alchemy
Pages
55 to 59
7
60 to 69
10
70 to 79
14
80 to 89
18
90 to 98
24
99
30
New players: the Pit
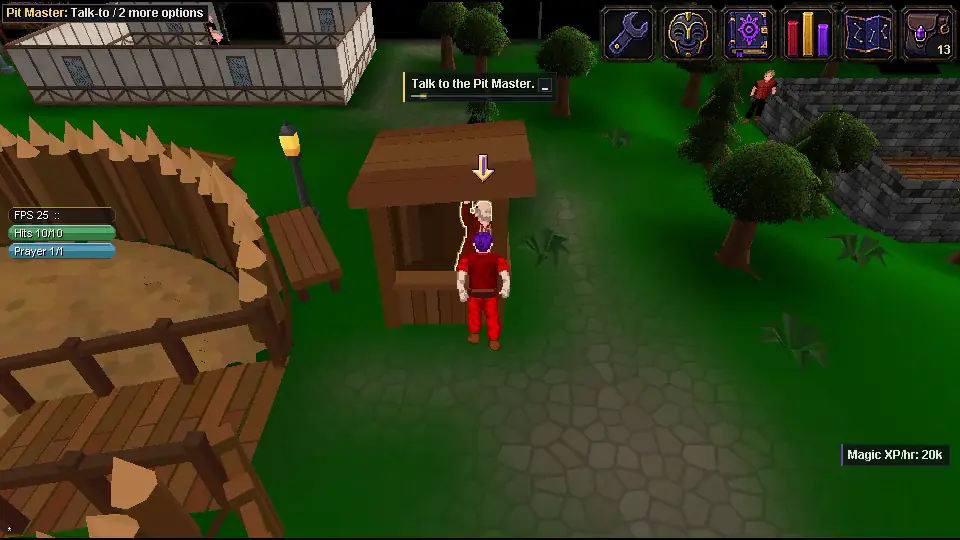
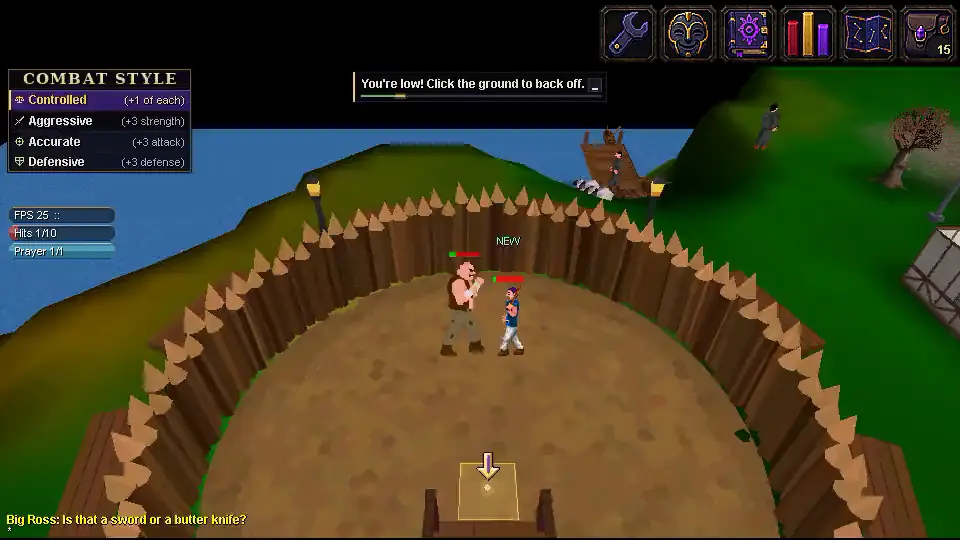
After Tutorial Island the Boatman rows you to the Pit behind Draynor bank. Losing a Pit fight never costs your items.
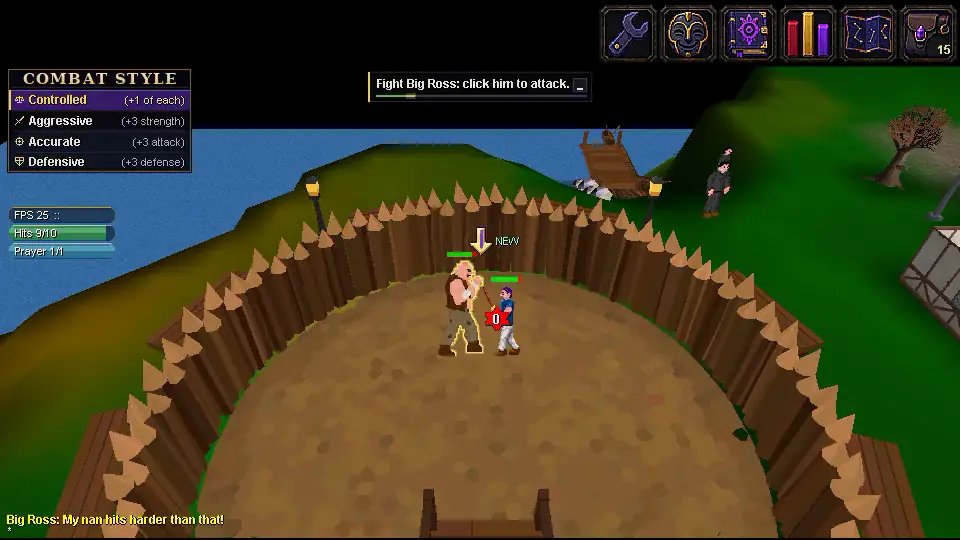
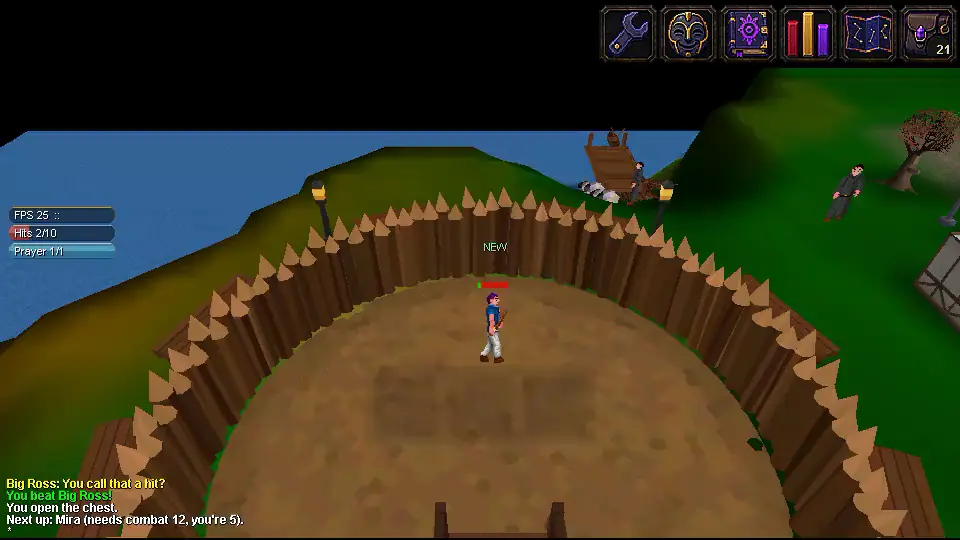
Fight Big Ross first. He goes easier on you the first time. Beat him and his chest opens, with a lamp and a better sword.
Then take on the next fighters. Each comes with an errand: 5 copper and 5 tin ore, 5 logs, 5 picked pockets or 5 cooked fish, training to combat 18, The Leaky Rowboat quest or a Slayer task.
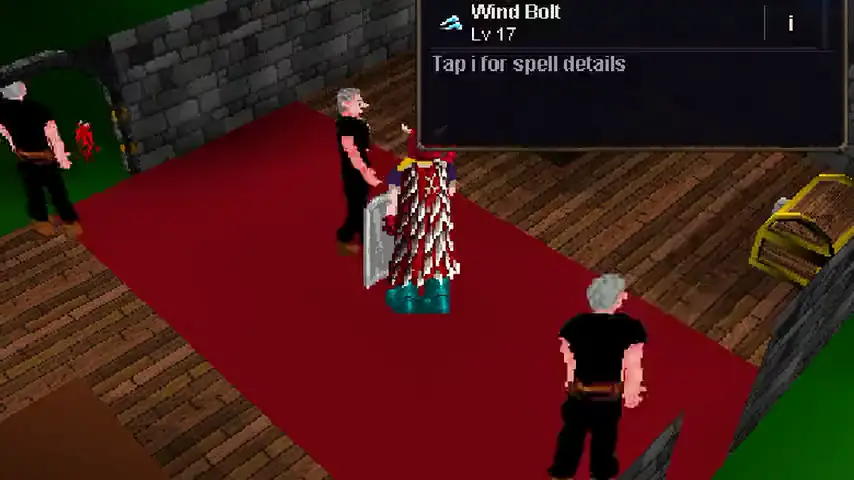
Mira fights back with Wind strike.
Beat the Champion, or tell the Pit Master you're done, and he sends you on to Lumbridge.
Played before? Skip on the island now tops you up to the island's combat XP (220 in Attack, Strength, Defence and Magic, 1,220 in Hits, 10 in Ranged), and the Pit Master asks once: Start at the Pit, or Skip the Pit straight to Lumbridge.
The Pit's eight fights
#
Fighter
Combat to fight
Errand first
Chest weapon
Lamp XP
1
Big Ross
Bronze long sword
800
2
Mira
12
5 copper ore and 5 tin ore
Iron long sword
2,400
3
Gus
18
Train to combat 18
Steel long sword
5,000
4
Nell
24
5 logs
Black long sword
8,000
5
Fingers
30
Pick 5 pockets
Mithril long sword
12,000
6
The Twins
36
Bring 5 cooked fish
Adamantite long sword
17,000
7
Sir Brannock
44
Finish The Leaky Rowboat
Adamantite 2-handed sword
24,000
8
The Champion
52
Finish a Slayer task
Rune 2-handed sword
36,000
A fight's first win opens its chest once: a Pit lamp, the weapon and one extra. Each lamp puts its XP into one combat skill or Prayer, and the eight pay 105,200 XP in all. Beating the Champion earns the title the Pit Champion.
Down to the Pit, behind Draynor bank.
The Pit Master: Start at the Pit, or Skip the Pit.
Big Ross, your first fight.
Lose and you wake on the bench with everything you had.
Win and the chest opens: a lamp, a sword and food.
The original quests retire
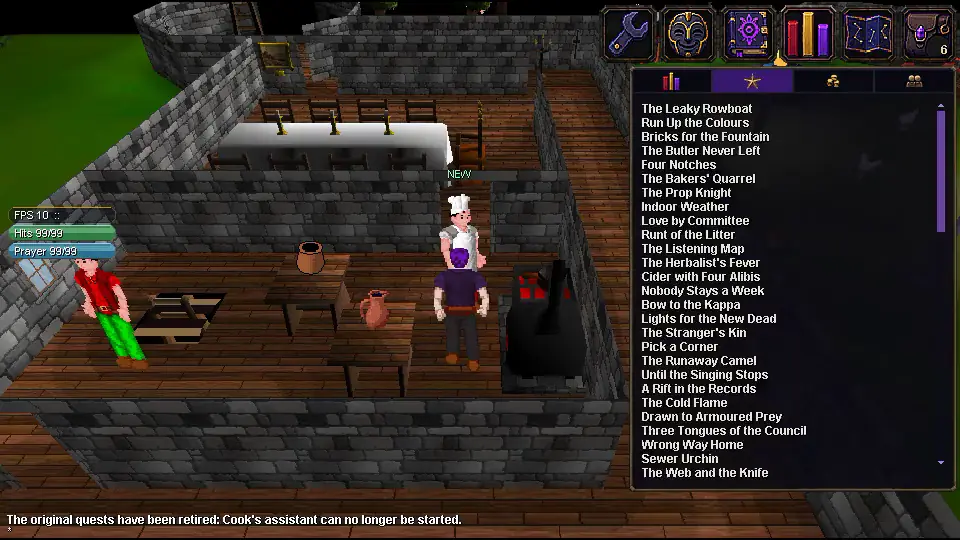
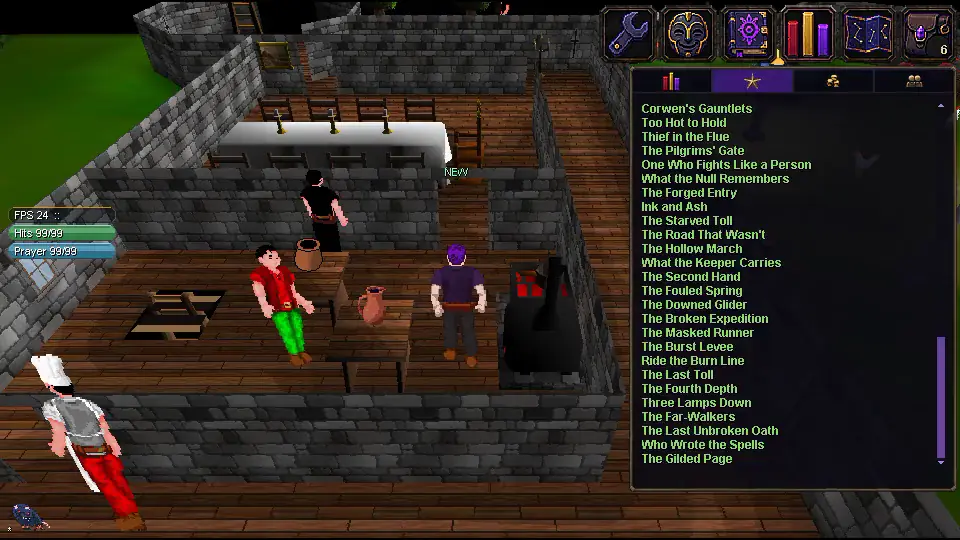
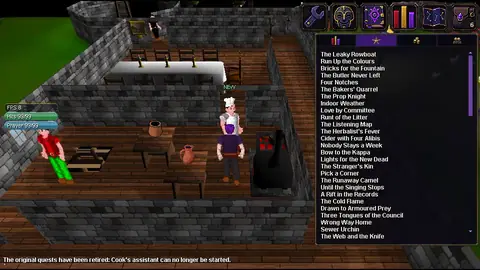
The 50 original quests are retired: they're gone from the quest list and can't be started, and the ways they guarded now say "This way is closed." Your quest list shows our 74 quests.
Every player's progress is kept. Quest points you earned from them still count, and anything you unlocked stays yours.
Logged out behind a closed way? You're walked back to the nearest town when you log in.
Much of what they locked is open to everyone now, among it the Lumbridge castle range, Doric's anvils, the Digsite, Merlin's whistle, the fishing platform boat, the Fight Arena doors and Herbalism.
The rest now comes from one of our quests, from the Heroes' and Legends' Guilds to the Duke's anti-dragon breath shield.
The quest list: our 74 quests.
"This way is closed."
Quest points you earned still count.
Open to everyone now
Places and services: the Lumbridge castle range, Doric's anvils, the canal log rafts, digging at the Digsite and its tools, Bray's cannon counter, Merlin's realm whistle, the fishing platform boat and the Fight Arena doors.
Gear, at its usual level: rune plate bodies and tops, the Dragon sword, the Dragon battle axe and the Dragon square shield.
Spells: Ardougne Teleport, Watchtower Teleport and Iban Blast (you still need a charged Ember staff).
Routes: the Gnome Stronghold's gate, ladders and fences, the Entrana monks' ladder, the Desert Mining Camp, and more.
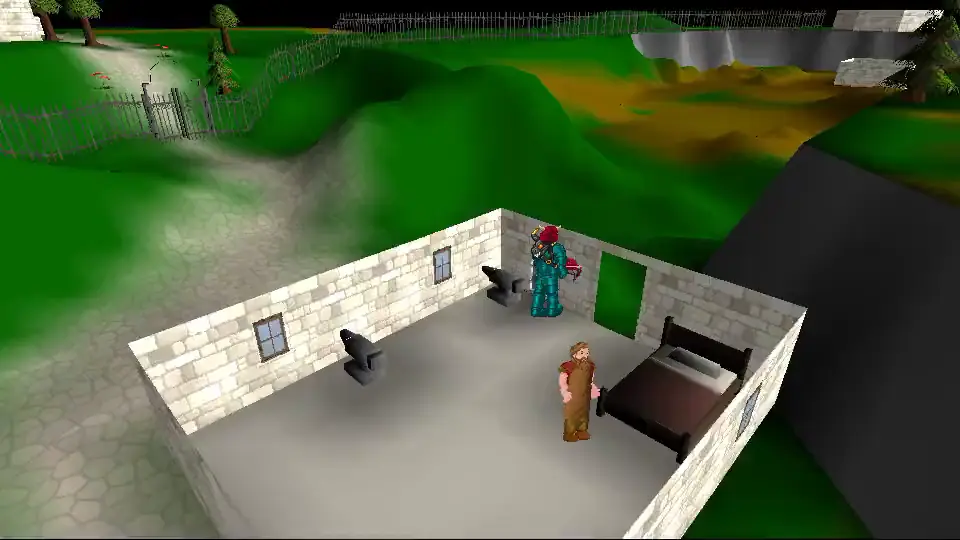
Doric's anvils, open to all.
The Digsite, open to all.
Rune plate needs only its level now.
Now from one of our quests
Where the big unlocks went
Unlock
Our quest
The Heroes' Guild
The Broken Expedition
The Legends' Guild, its shop and grounds
The Far-Walkers
The Duke's anti-dragon breath shield
The Dragon's Throat (from accepting it)
The boat to Crandor
The Dragon's Throat
The Waterfall dungeon
Let the Halls Run Dry
Gnome gliders and the Grand Tree's exits
The Downed Glider
The gates into West Ardougne
The Lockmaker's Warning
Shilo Village's gate and cart
The Burst Levee
The Ember staff and its repair
Three Lamps Down
The dwarves' tunnel under White Wolf Mountain
Until the Singing Stops
Free passage at the Al Kharid toll gate
The Runaway Camel
Enchanting battlestaffs
The Lighthouse Storm
Super Events and daily events
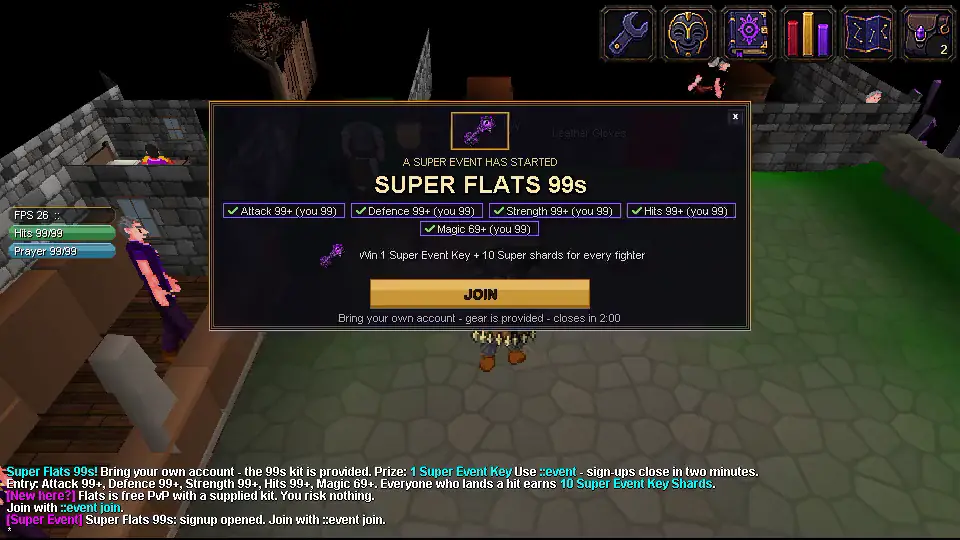
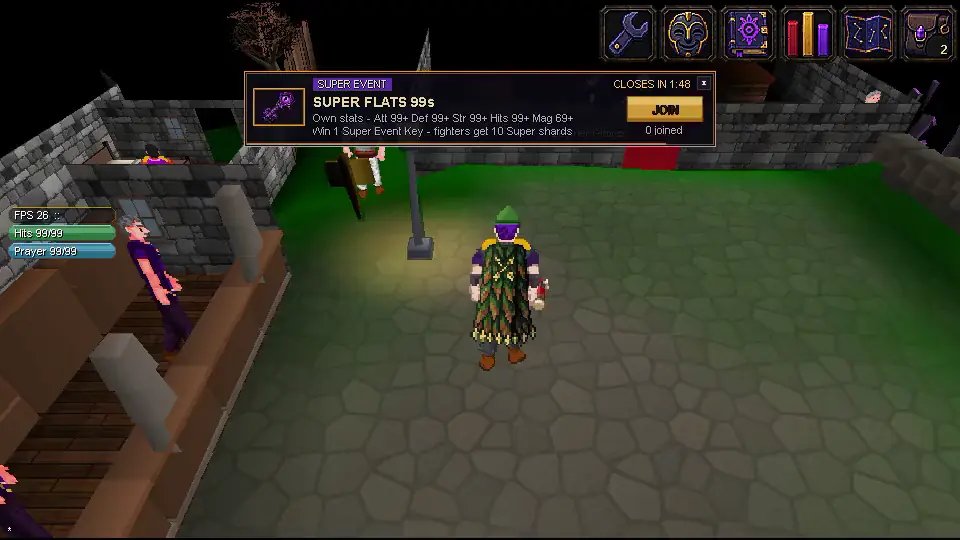
Super Events open once a week. Bring your own account at the event's level; gear is still provided.
Super Events, once a week (UTC)
Event
When
Super Stake King 61
Saturdays at 17:00
Super Stake King 82
Sundays at 17:00
Super PvP 38s
Wednesdays at 23:00
Super Flats 99s
Fridays at 23:00
Who can enter (your own base levels; boosts don't count)
Super Event
Combat at most
You need at least
Super Stake King 61
61
Attack 60, Strength 20, Defence 60
Super Stake King 82
82
Attack 60, Strength 20, Defence 60
Super PvP 38s
38
Attack 40, Strength 61, Ranged 68
Super Flats 99s
No cap
Attack, Strength, Defence and Hits 99, Magic 69
The winner gets one Super Event Key, and everyone who takes part gets ten Super Event Key Shards. 100 shards make a Super Event Key.
The key goes to a winner who actually fought: a champion carried only by byes and walkovers keeps first place but gets no key. Ironmen can't enter.
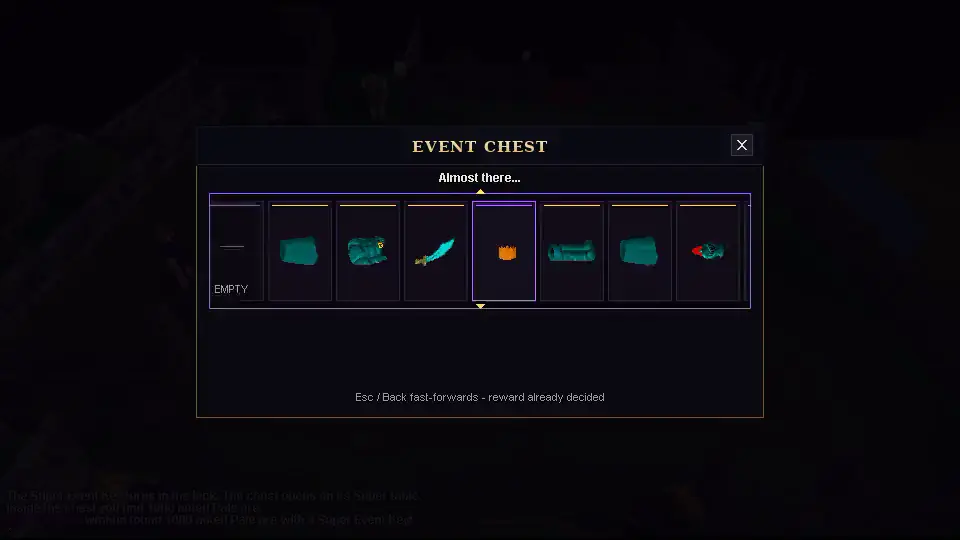
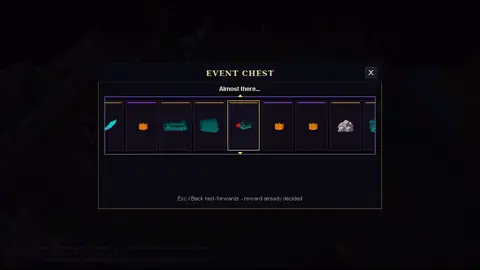
The Event Chest has a new Super table with new items, and its Equipment right card (120 rolls in 3,000, 4%) is replaced by 1,000 noted pale ore.
Super Event Key
Opens a roll on the Super table.
Tradeable
Super Event Key Shard
100 make a Super Event Key.
TradeableStacks
The Super table: one Super Event Key opens a roll
Prize
Chance
Combat reset scroll
1 in 50
Victor's banner
1 in 50
Champion's laurel
1 in 50
Victor's dragon sword
1 in 66.7
Victor's dragon helmet
1 in 66.7
5 Dragon keys (noted)
1 in 40
10,000,000 coins
1 in 200
The usual Event Chest prizes
the rest (88%)
A title card for each Super Event.
A Super Event starts: its rules, ticked against your own levels.
Over the bracket: a red chip, and JOIN is refused.
You're in: your own stats, the event's gear.
One Super Event Key for the winner, ten shards for each fighter.
The Event Chest's new prize: 1,000 noted pale ore.
Daily events
Daily events (UTC)
Event
When
Stake King at combat 61
01:40
F2P Flats 38s
08:00
Stake King at combat 82
13:40
F2P Flats 38s 2v2
20:00
Four regular events open on their own each day. The hourly random events are gone.
Stake King seasons end. The season running when this update goes live is the last, and it pays out as usual; after it, Stake King still runs every day, unranked.
A daily event opening.
Hushfall
The Antimage shield is the raid's new mega-rare. While you wear it, god spells cast at you hit for half and other combat spells for three quarters.
Your raid party has its own chat: type ::r and your message. The new Raid chat tab keeps the raid's info lines out of All.
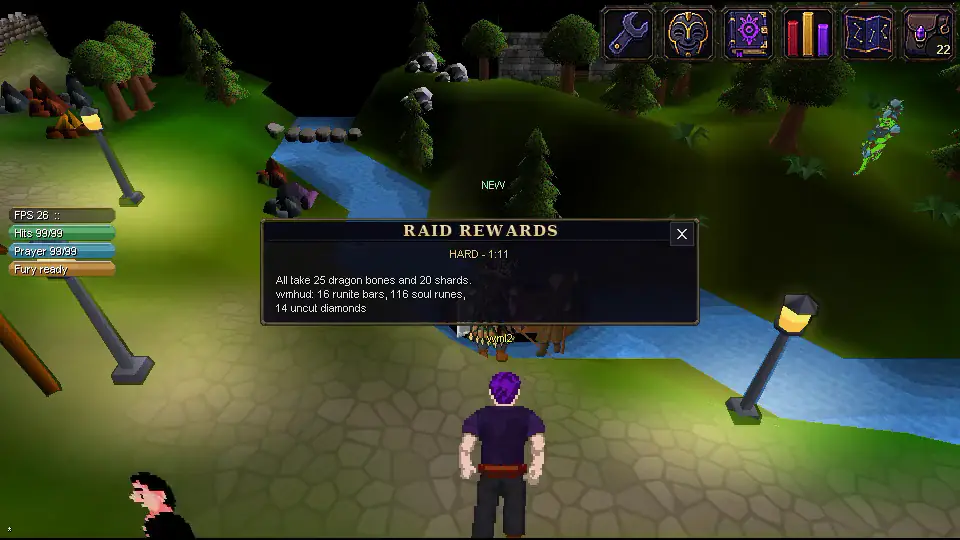
A raid clear shows its rewards on one card.
The Hush cape can now be traded, noted and sold on the Auction House, and like any tradeable item it can be lost on a dangerous death.
Antimage shield odds, per raid (to one random member)
Raid
Chance
Easy
1 in 500
Hard
1 in 150
Extreme
1 in 75
The Antimage shield.
Wave of Nerra on an Antimage shield wearer: half damage.
The [Raid] chat line and the Raid tab.
One card for a clear's rewards.
Antimage shield
Magic 60. Armour +25, Magic +6, Prayer +3.
God spells at you hit for half; other combat spells for three quarters.
TradeableHushfall
Hush cape
Now tradeable, noteable and sold on the Auction House.
Tradeable
Void Arena: Death Matches and Sir Charles
The Void Arena is open again, through the blue rift in the Void Enclave.
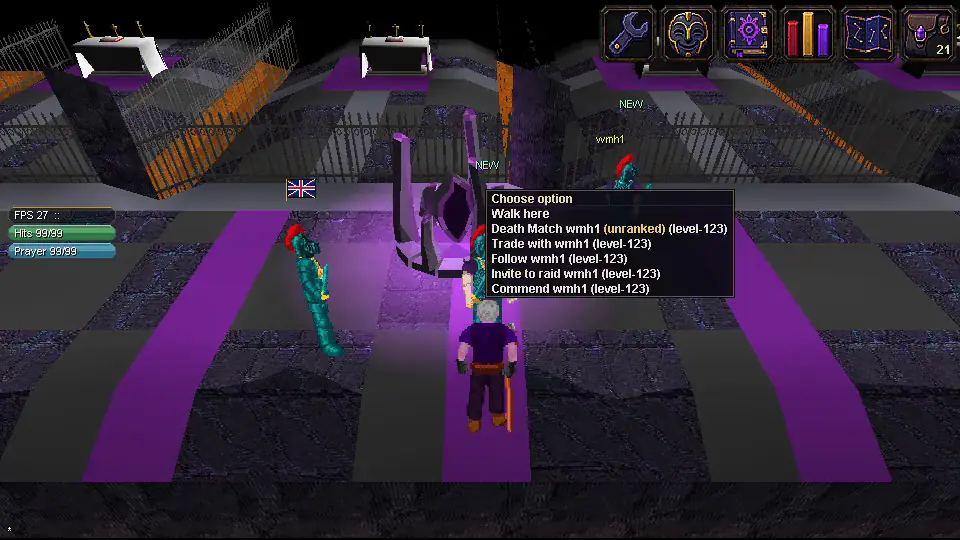
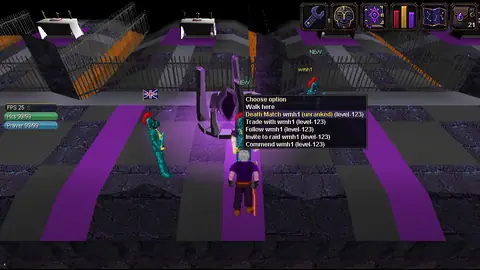
In its lobby, right-click a player and choose Death Match. Tick the rules together and fight in your own gear and stats.
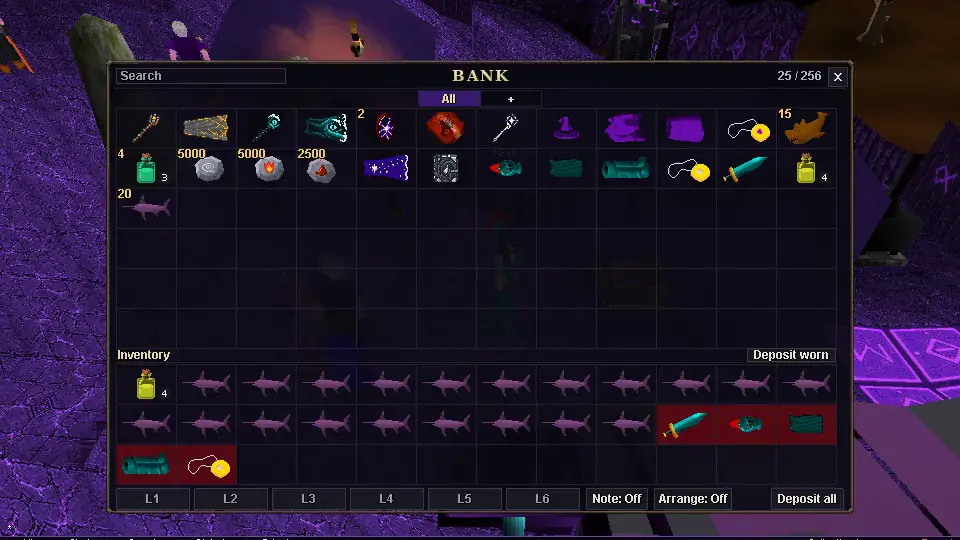
The loser's whole inventory, worn gear included, goes to the winner's bank.
Protect Item doesn't work, nobody gets skulled, logging out loses, and after 5 minutes it's a draw. Ironmen can't take part.
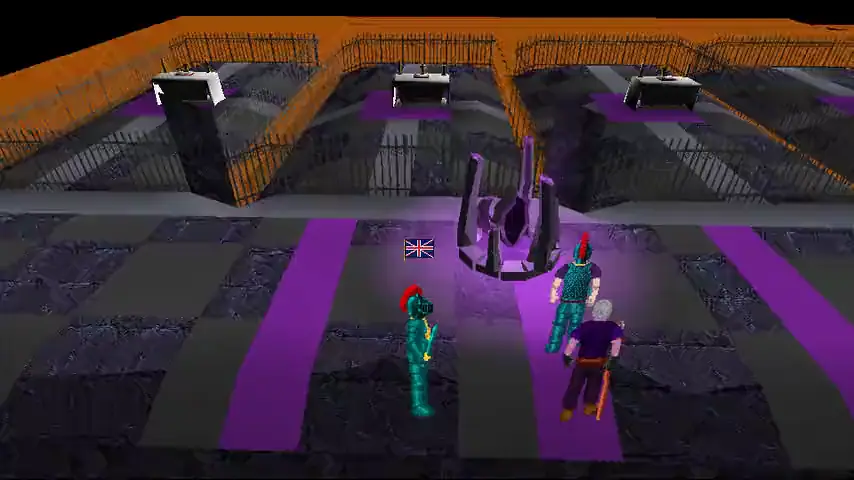
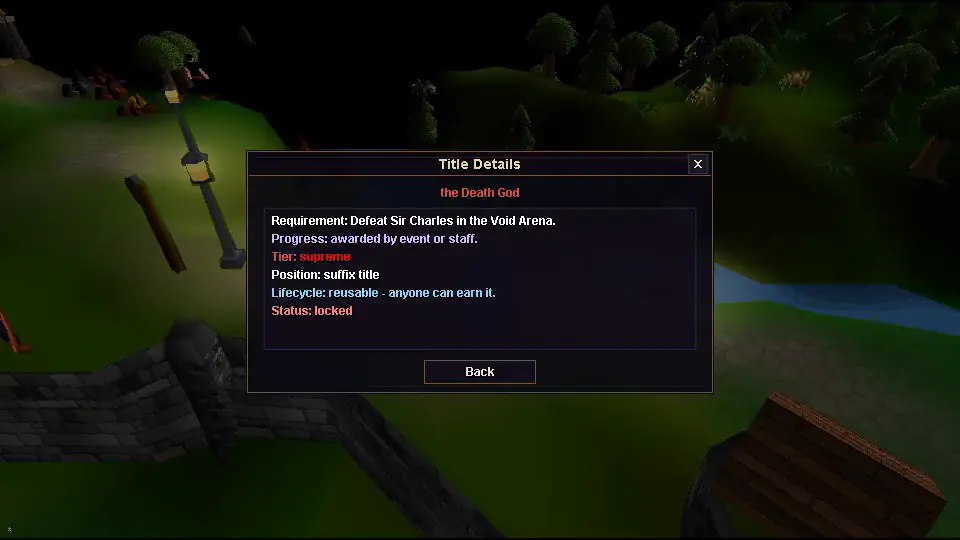
Sir Charles is back as a level-123 fighter who fights like a player. Losing to him costs nothing, and your first win earns the title the Death God.
Right-click, Death Match, and tick the rules together.
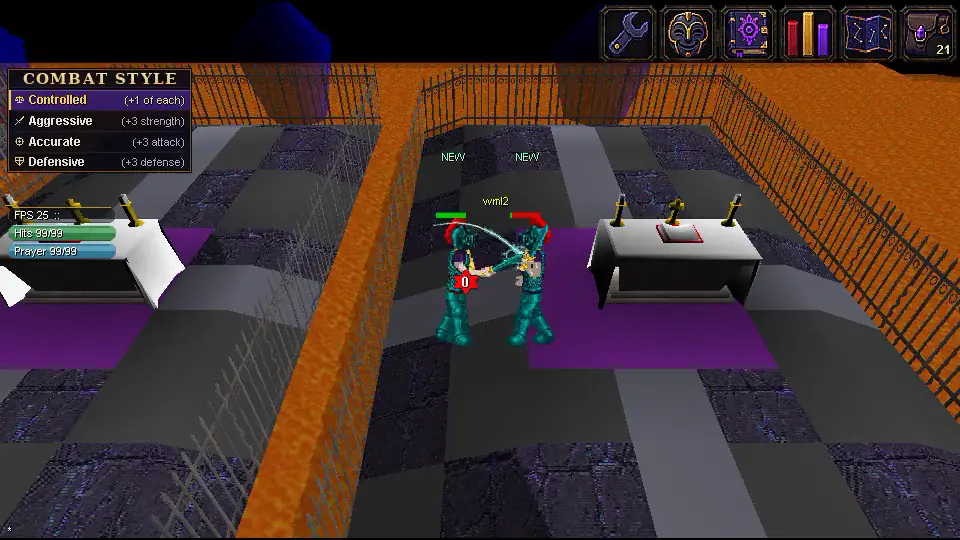
The last blow and the result.
The winner's bank: the loser's items.
Sir Charles, back in the lobby.
Beat him once for the title the Death God.
Drawn on your graphics card
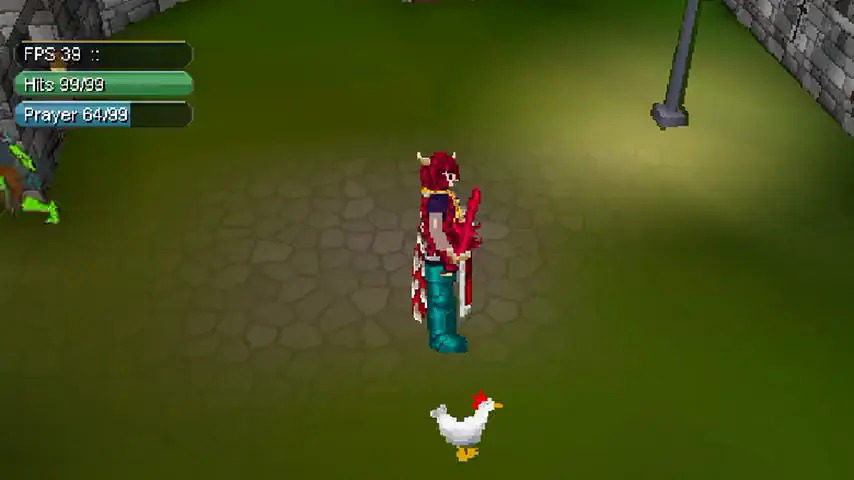
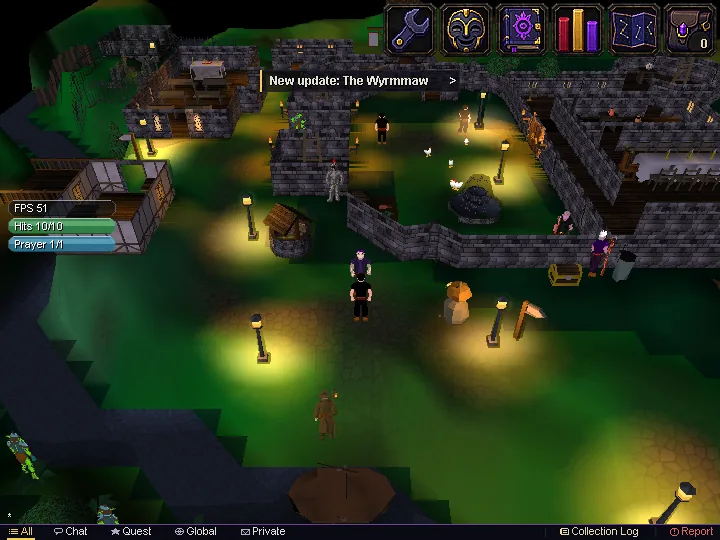
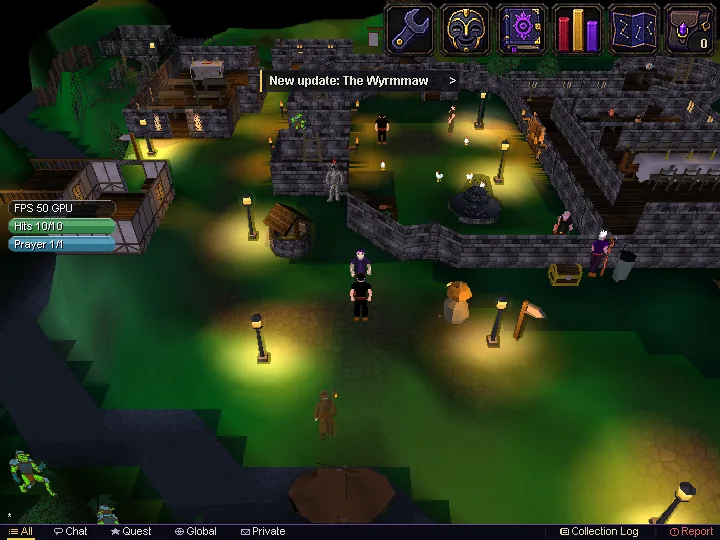
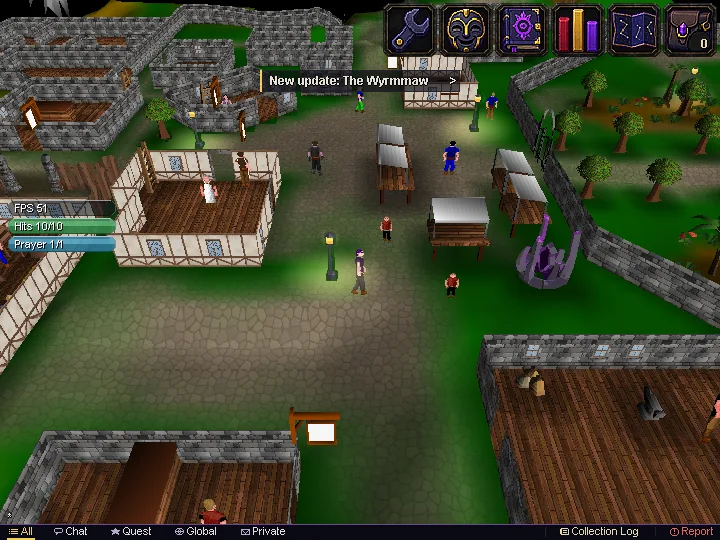
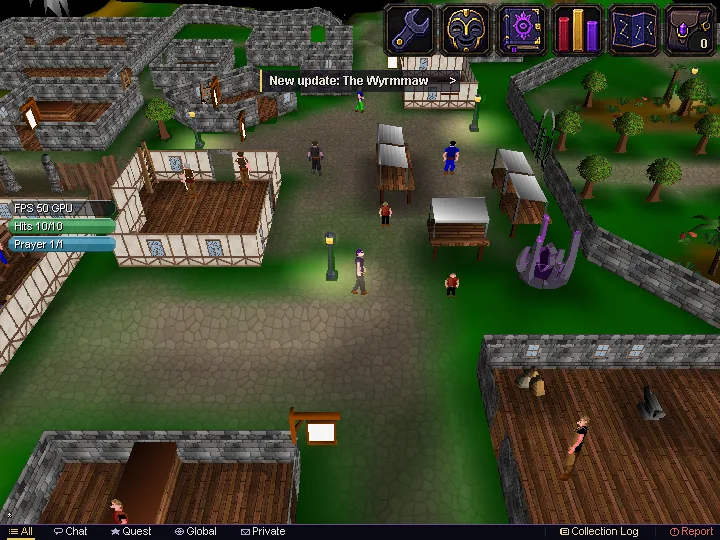
The game now draws the world on your graphics card by default, on desktop, in the browser and on Android, with the full look: lights, fog, Dusk, water, glows and smooth ground. The FPS counter reads GPU while it does.
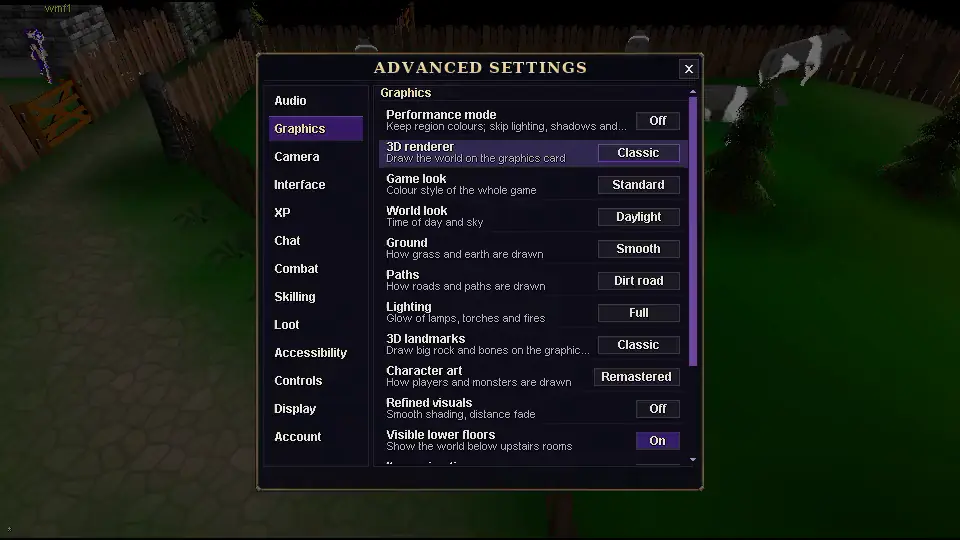
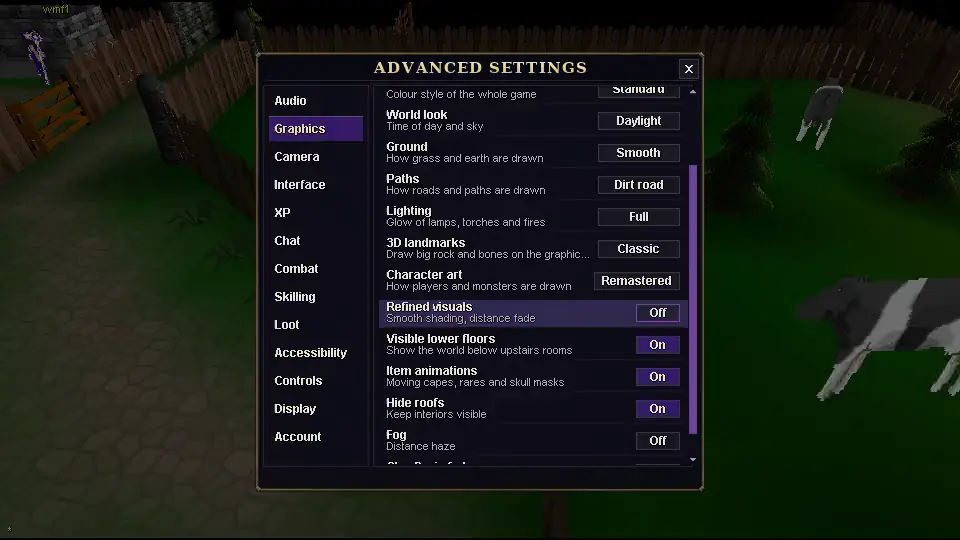
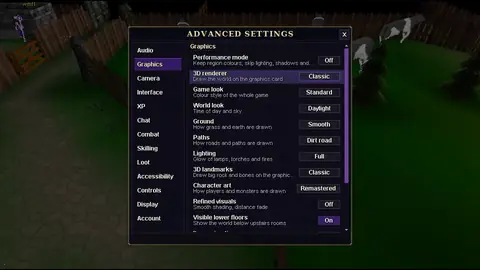
If anything looks wrong, switch back in Settings, More Settings, Graphics: set the 3D renderer to Classic.
The browser game now runs on WebAssembly where your browser can, and feels smoother. If it ever says the client crashed, refresh the page and it switches to the old engine.
In the browser, Hide controls now folds the screen controls into one Controls button, which opens over the game on a click.
On Android, Graphics, Steady frame rate is new and on.
Settings, More Settings, Graphics: the 3D renderer row.
The browser game at phone size, on WebAssembly.
ClassicGraphics card
Lumbridge at dusk. Drag to compare: the graphics card draws the same look.
ClassicGraphics card
Varrock by day.
Combat, interface and quality of life
New vitals bars, on by default: your health turns yellow, then red as it drops.
Wield a Dragon sword or a Dragon crossbow and a special attack bar appears: click or tap it to arm the special and watch its cooldown.
Hit splats always draw on top, even over the Elder dragon.
Monsters' right-click menus show Attack and no Talk-to. People keep Talk-to.
The special attack bar: ready, armed, and a critical hit.
The new vitals bars: your Hits turn orange, then red.
Ranged attacks on monsters start from just inside range
Weapon
Against monsters
Against players
Crossbows and shortbows
6 tiles
4 tiles
Longbows
7 tiles
5 tiles
Darts
5 tiles
4 tiles
Other thrown weapons
4 tiles
3 tiles
Spells
6 tiles
4 tiles
One click from 5 tiles, and the bolt flies with no step.
A monster: Attack, no Talk-to.
A person keeps Talk-to.
Quality of life
Graphics, Item animations: On by default. Turn it Off to hold still item effects such as the Slayer and Max capes and the Halloween rares.
The Loot tab in the stats panel has a search box: type part of a monster's name.
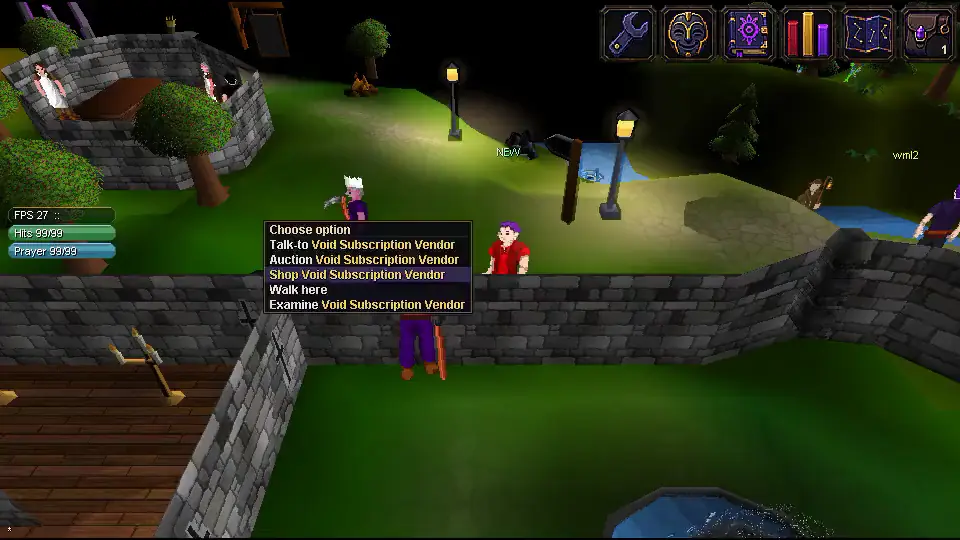
Ironmen can buy Skill and Combat cards from the Void Subscription Vendor with their own coins, and use them.
Global chat has a 3 second wait between messages.
The game's greetings now say Void MMO.
Search the Loot tab.
Item animations, On or Off.
An Ironman buys a Skill card and a Combat card.
The 3 second wait on global chat.
Fixes
Settings stay with each character: spell and prayer favourites, quick prayers, camera, the ground-item list and quick equipment no longer overwrite each other when you play several characters.
Phones and the browser freeze much less after teleports, ladders and long walks.
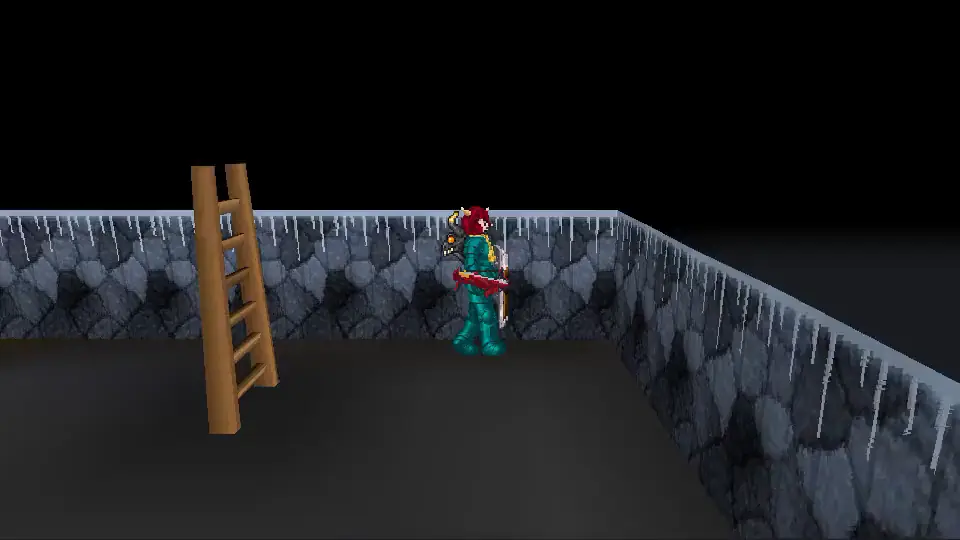
Climbing down a ladder from a corner no longer drops you inside a wall, and teleports and climbs no longer leave you standing in a lantern, a rift or a ladder.
Attacking round a wall's corner walks you round it first, and monsters can no longer reach you through a wall's end.
Long server messages now scroll, by drag on a phone and by the mouse wheel on a computer.
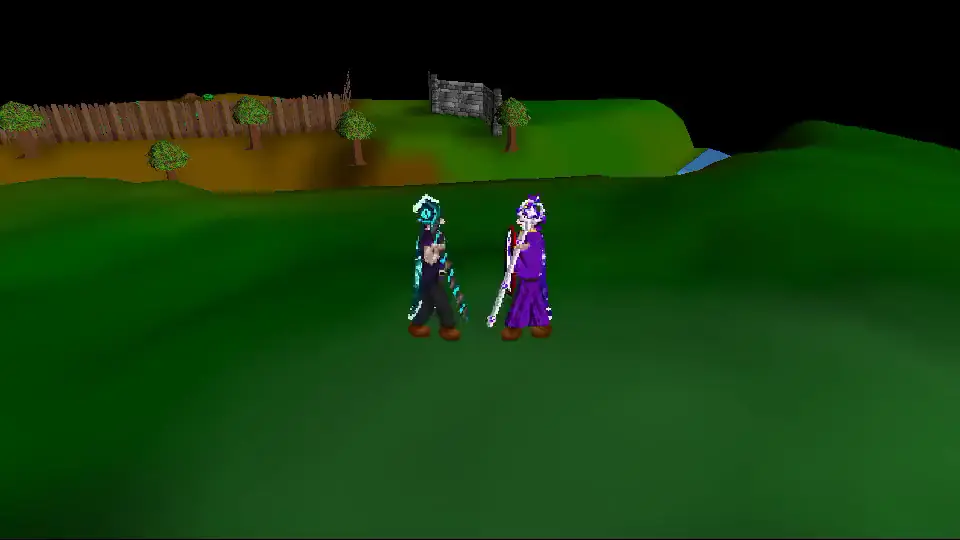
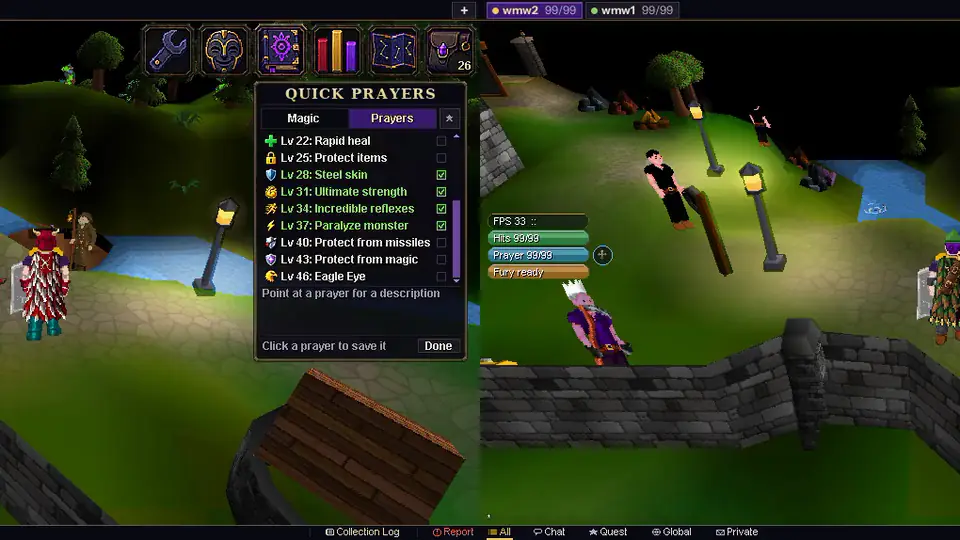
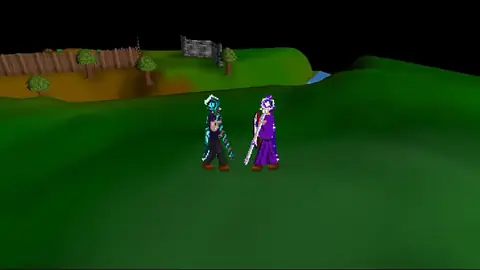
Two characters side by side, each with its own quick prayers.
A Home teleport and a ladder, without the freeze.
Down a ladder from a corner, and out on open ground.










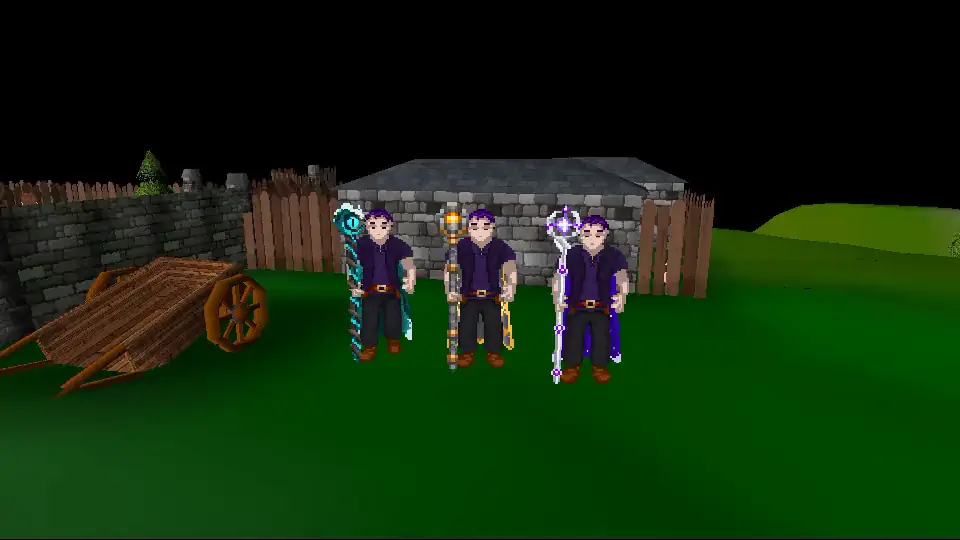
 8
 10
 10
 10
 10
 1


 150